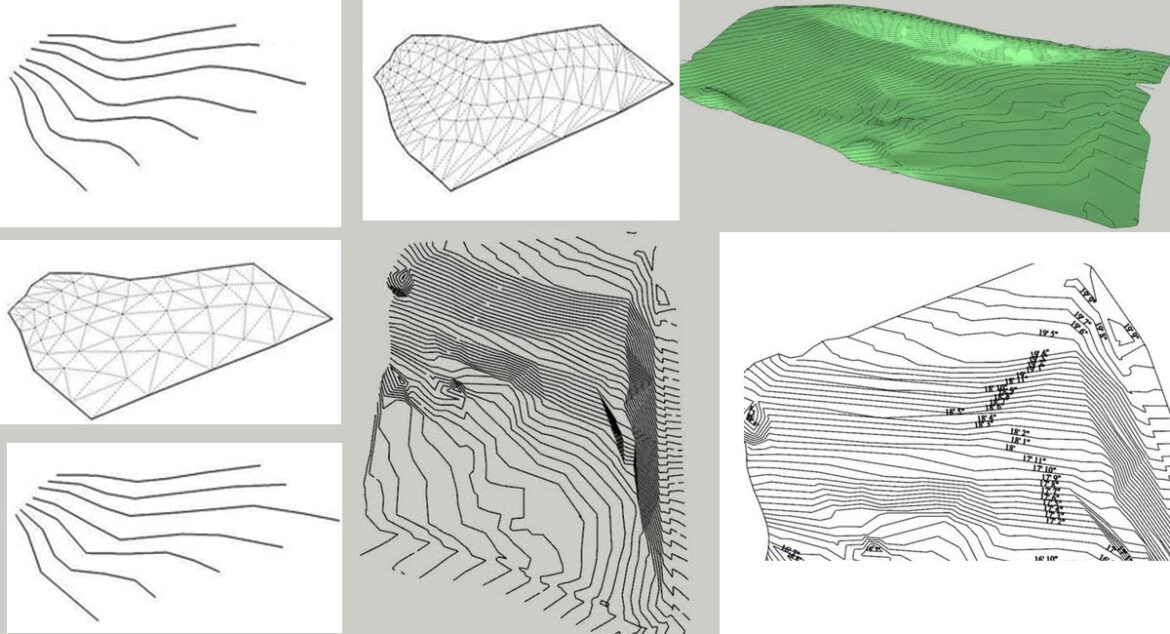
Whatever be your modeling type you need one of two terrain-modeling methods: starting from the existing data, which usually comes in the form of contour or topo lines; or starting from the scratch.
The contours of the terrain are represented by the contour lines, every point present on a single line presents the same height above the sea level as every other point on the line. The place where the lines are close together then that means that the ground between them is steep. The place where the lines are far apart that represents that the slope is less steep.
To represent 3D terrain contour lines are used by cartographers, surveyors, engineers and architects in flat formats like maps and site drawings.
You might also have to add contour lines for building site when you want to model in 3D. By using the From Contours tool in the Sandbox which can automatically release a three-dimensional surface from the set of contour lines that are there.
Things that you must remember about the From Contours tool:
- To create the surface, you must select all the contour lines
Choose Draw→Sandbox→From Contours from the menu bar (or, you can even click the From Contours tool button and checkwhether the Sandbox toolbar is visible).
You need to lift up the contour lines. With the From Contours tools you can create a surface from contour lines which are already positioned at their own proper heights in 3D space. Usually you work with contours which are part of a 2D drawing, which would mean that you have to probably lift them up by your own self by using the Move tool- one by one.
Even though it is a tedious process yet it is a necessary step. Try to maintain your calm and start working on the select tool.
You will find that a group is formed. By using the From Contours, SketchUp starts making its new surface which was generated by the contour lines into a group. You will also find that it leaves the original lines all by themselves, you can move them away or even hide them or delete them if you want. You can also make another group out of them, then put them on separate layer and then hide it if you do not need to use it again.
To be able to edit the new surface you have to turn on Hidden Geometry. The organic surface that you have made is a bunch of little triangles, even though the From Contours tool helps in smoothening the edges which defines them but they will still be present. To be able to see them you must select View→Hidden Geometry from the menu bar.
You must try to use your geometry in a reasonable way. Even though the From Contour tool is useful yet it has its own limits. The problem is you can create a number of geometries be it faces or edges which actually slows down the system.
In case your contour takes forever to turn into a surface, or if that surface is so big that your computer turns blue and stops functioning, then given below are some of the steps you have to take, you might have to take all the steps depending on your problem:
- It is best to work on a smaller area. It might seem like a good idea to include the whole neighborhood in your SketchUp model but it is best for youto narrow your scope. To only create what you need is a very good modeling policy.
- Just by only using every other contour line will help you to effectively halvethe amount of geometry in your resulting surface.
- It will also help if you dumb down the contour lines. This is what it means to dumb down contour lines: The from Contours tool works by connecting adjacent contour lines together with edges which then form triangles. The number of triangles that are created depends on the number of individual edge segments there are in each contour line.


