Custom SketchUp Workflow for Converting a 2D Warehouse Design to 3D Model

In today’s storekeeping operations, the need to visualize the workspace realistically is being felt more and more. Whether you are a logistics planner wanting to know the warehouse, or a builder or supplier wanting to show off their plans as real as possible, basic 2D CAD drawings (even worse, paper plans) don’t cut it anymore.
Wouldn’t it be nice to take that existing flat floorplan and whip up a shiny 3D model, depicting the space, presenting the relationships between the objects in the warehouse and the are? Well, if you think that way, you have come to the right place. This article presents a workflow to convert 2D from 3D in SketchUp. What’s so special about it? Well, it is customized for Warehouses specifically! And in relation, for any large general storage spaces.
So, without further ado, let’s learn it.
- Raw materials
- Add height to area
- Find pre-built stuff
- One model, many fashion
- Show Measurements
- Showcase your model
- Render is the bender
This is kind of obvious, but yes, you do need a 2D plan to begin with. Best if you have the 2D CAD files for the warehouse – you can import them directly into SketchUp. If not, you can scan paper drawings, blueprints etc. and take them into SketchUp.
Worst case scenario – you have only photos of the site. Well, even then SketchUp can work. There is a “Match Photo” feature in SketchUp that can input photographs of real space and you can construct a drawing around them. You will need complete picture sets, of course, covering all angles.
Now that you have a working floor plan, you can start constructing 3D objects on top of the plan. Use the “Push/Pull” tool toerect columns and walls. Make sure you have their heights noted.
It is a good idea to make the stuff you are erecting are Grouped made objects, so that you can manipulate them as a whole when necessary. Oh and, do paint them with pretty colors and materials!
Don’t labor under the misconception that you will have to design and place every single object that a warehouse need. Fact is, the community has already created most of the models of machines and racks and fixtures you need – often built around real-world products – and uploaded them to the cloud. Ironically, this cloud source is also called the “3D Warehouse”! Just get some of those forklifts and lamps and shelves and tables from there and place them in your model. Use the array feature of the move/copy tool wisely to create rows of shelves effortlessly.
You probably have realized this already at this point, but let us mention it explicitly anyway. The use of freely available objects on the clouds, and the module-oriented nature of this model, enables you to build the base warehouse space, and reuse it in multiple different configurations. This is one of the reasons why we told you to make every 3D thing into objects (and save them) - so that you can recycle them in other drawings.
Use the dimension tools to provide measurements whenever necessary, so that the client – or team – understands the scale of things that matter. You should put the dimensions in another layer to hide or show when necessary. Use the proper units required in the project.
That’s it, you have finished converting a bland old 2D warehouse plan into lifelike 3D! But, you have to show it to your client or boss or team, right? A bit of showmanship factors into this matter. Use the Scene tools in SketchUp to create custom useful (or dramatic) points of views, and create animations out of them to go with your presentation. Done properly, this will help the viewer go through a virtual journey through the warehouse.
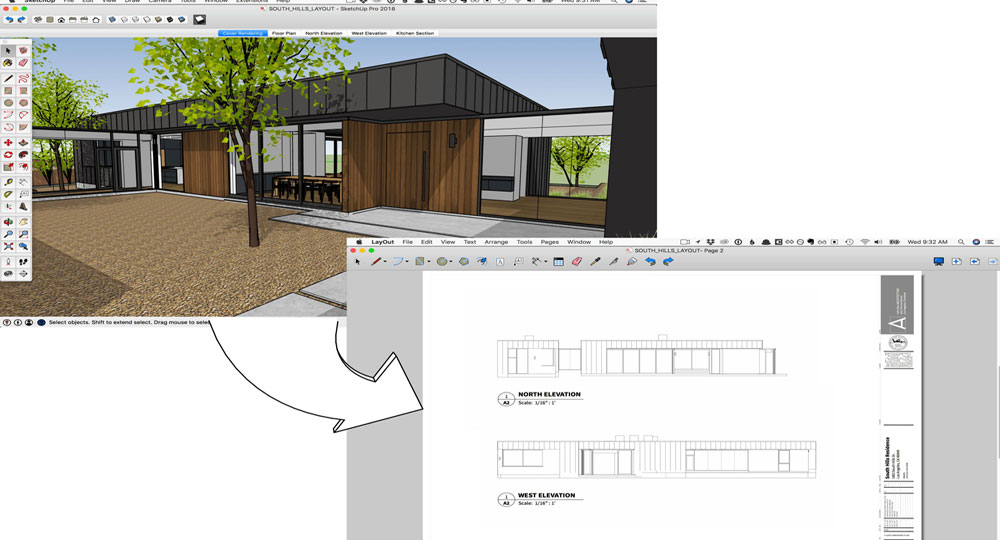
Furthermore, you can use LayOut to combine the drawings and details into great documents for those who are interested in the nuts and bolts of the project.
This step is optional, but highly recommended. To squeeze that exquisite “wow” out of the client, render some of the special scenes your 3D warehouse model using a professional graphics rendering engine. They will output photorealistic, life-like to the last crease on a cloth, pictures that you can paste of your bids and proposals.
What’s more, there are some renderers, like Lumion LiveSync, which can render a model in real-time, letting you show off the warehouse come to life as you use the camera controls to move around the model. Of course, you need capable hardware for that.

- Sketchup Tips & Tricks
-
 SketchUp Now Handles..
 -
 How Can You Make..
 -
 Virtual Design..
 -
 Adding SketchUp Models..
 -
 August Update Rolls..
 -
 ArielVision vs IRender nXt..
 -
 How to Supercharge..
 -
 Top 10 SketchUp Plugins..
 -
 RpTreeMaker plug-in..
 -
 FredoTools Sketchup Plugin
 -
 MIO PlasticForms - 3D..
 -
 Revisiting SketchUp Pro..


