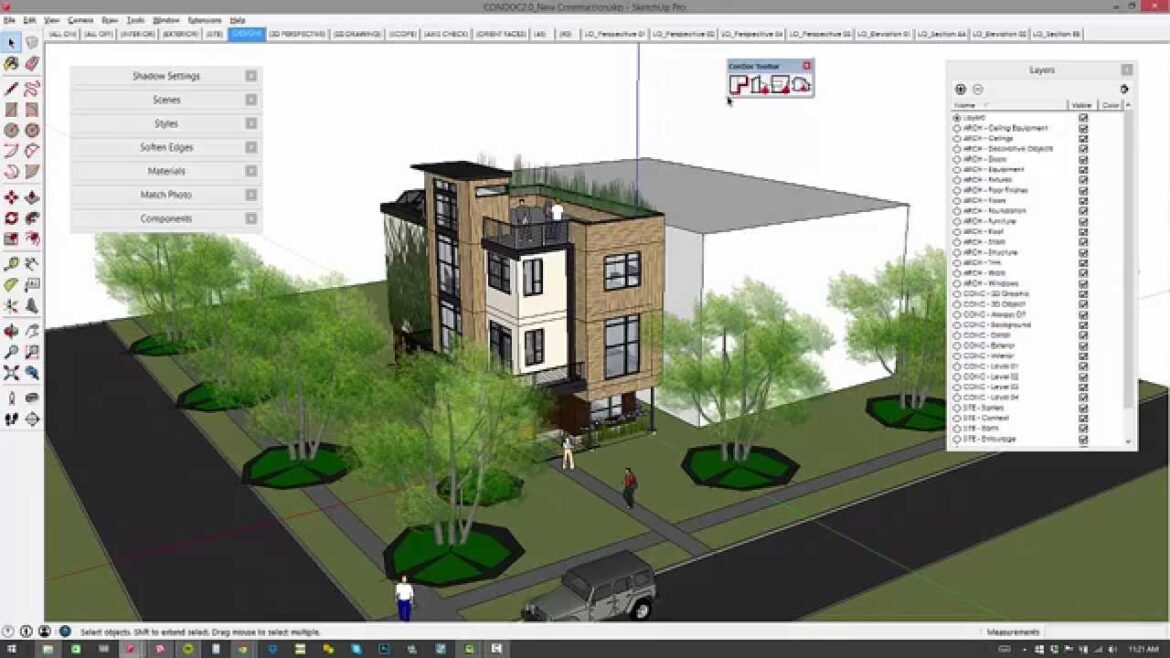
How to Design with Condoc
Once 3D drawing came into the market, architects and Engineers had real fun is redesigning their models. But as time passed by it became far too complicated. The heavy over featured beam solution had asked too many questions and often came in the way of design. For a seamless design draft and using Realtime visualizations one can go with SketchUp, Layout and ConDoc Tools. This system falls far paced of the functionalities and efficiencies of CAD and a way better than that. But falls all sort of questions and the extra complexities of Beam.
So, with SketchUp, ConDoc and layout, one can customize it as per their requirement, and it’s far cheaper, more efficient, fun and time saving.
Using SketchUp, ConDoc and Layout
So, let’s start our model by first selecting the layout and Press Ctrl-N, select again letter landscape document. Now use the scale drawing and create 4 and1/2-inch walls and then press 9 enter so it becomes a 9’ wall. It adds a new piece in one’s work flow. Create a 32-inch opening, incorporate the door and the window; you can drop those using the select tools. Now we can see we have got our bathrooms. 6’ by 9’.
Drafting in layout has been super easy with scale drawing command. Ow using SketchUp ConDoc invitation tool select the tub, Using SketchUp ConDoc Invitation Button drop the toilet and then on another corner using the same SketchUp ConDoc Invitation Button drop the vanity. Now take the sketch and draft it. Save the Bathroom sketch by File – Export-DWG and then export the SketchUp File.
ConDoc4.5 has been updated with SketchUp 2019.Take and project and adhere to any standard. You can completely configure your design adhere to your standard. Now import the design and take measure tools to measure the widths. Next step is to go to the background and the background layer and off the visibility.
Use a rectangle Tool and press and 8.6 “wall using the push pull button create the 3d wall to come to life. Use again the Push Pull Tool to create the door and the window. Use deletes Coplanar Edges and clears the extra Geometry and also the rough edges. Next step is to plan the walls and group the geometry using ConDoc4. Now using ConDoc button clicks the door and the window. In ConDoc one can see the Manufacturing model and See the brand of the fixtures. Here we select Kohler Manufacturing Mode and then drop the tub and rotate it by 90o.
Now add on the Condoc Vanity, and select all the fixtures into one group. Then assign the layout which hold the objects, See the elevation and recheck your drawing. Now go to file now go to my templates go to RBC in SketchUp and draw 18-by-24 construction file in the Condoc drawing scrapbook. Now drag the document select and align them vertically and horizontally.
Now, your model is ready. This Unique feature of ConDoc can be configured to automate anyone’s drawing and set up a standard.


