Author : Frank Fheitzma
SketchUp basics
Every architect needs to know how to use SketchUp!
SketchUp is free from Google just Google it and download to your computer. You can do just about anything with it, but it is especially good for conceptualization of architectural design. The current version (November, 2010) is 8.0. These instructions are based on this version. There is also a professional version, SketchUp Pro 8.0, that they sell online for $495.00. Students can purchase a one year license of SketchUp Pro for $49.00. But I would recommend downloading the free version from Google.
The major difference between free and Pro version is the ability of SketchUp Pro to import from and export into AutoCAD. If you really want to import AutoCAD drawings, you could download the SketchUp Pro version for an 8 hour trial, import the AutoCAD drawing, and just not follow through with your purchase. The earlier version, SketchUp 7.1, allows for using a free AutoCAD import plugin that you can download from the Google SketchUp site. However, in order to import an AutoCAD drawing into SketchUp 7.1, you need to first save the AutoCAD drawing down to AutoCAD 2007. The AutoCAD drawing will import into SketchUp as a Group, which can then be exploded down to individual elements, which, in turn, must also be exploded to be able to change them in SketchUp. It is kind of a mess. It's really better just to redraw the drawing in SketchUp.
There are some great video tutorials online on the Google SketchUp web site. There is also an extensive online library of SketchUp premade components which are available directly within the program. SketchUp also plays well with Google Earth allowing you to not only design a building but place it on its actual site anywhere on the earth.
1. Open SketchUp
2. If the screen is not set as shown below, make the following changes:
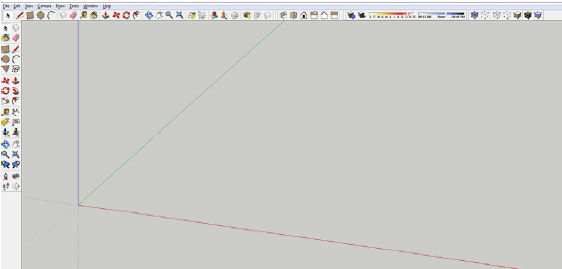
- Turn on the "Large Tool Set" Toolbar: Select the View pulldown menu >Toolbars>Large Tool Set
- Turn on the "Views" Toolbar: Select the View pulldown menu >Toolbars>Views
- Turn on the "Shadows" Toolbar: Select the View pulldown menu >Toolbars>Shadows
- Turn on the "Styles" Toolbar: Select the View pulldown menu >Toolbars>Styles
- Turn off perspective view for the start of the project: select Camera pulldown> Parallel Projection
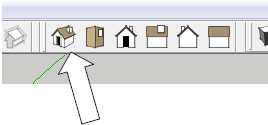
3. Go to the plan view by clicking on the Plan icon:
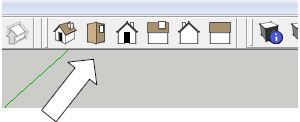
4. Your screen will look like this:
5. Draw a line: Use the pencil tool
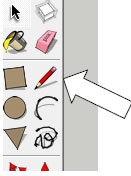
6. You can draw in X (red) or Y (green) or Z (blue) direction. If you want to make the line exactly 20'-6" long, pick the start point, then point the cursor in the direction you want to the end point to be located then type in 20'6 on the keyboard. Inputting distances for lines is the same as AutoCAD: click a point, then point the cursor in the direction you want to draw the line, then type the distance.
7. Note that the native units of SketchUp are inches, just like AutoCAD, in other words, if you type a distance of 100 and do not put the foot symbol after it (') it will be interpreted by SketchUp as 100 inches. If you mean feet, type the foot mark ('). To separate fractions of an inch from whole inches, leave a space.
8. At any time while you are drawing an entity, for example, a line or rectangle, you can type the dimensions in the "VCB" box and the entity will be drawn to those dimensions.

- If you want to draw a line that is 9 feet 6 inches long, start to draw the line in the direction you want, then type: 9' 6" (you don't need to click in the "VCB" box in order to type in it, just start typing), and then press Enter.
- If you want to draw a rectangle that is 6 feet 6 inches wide by 4 feet 6 inches deep, begin to draw the rectangle, type: 6' 6", 4' 6" (again, you don't need to type in the "VCB" box), and then press Enter.
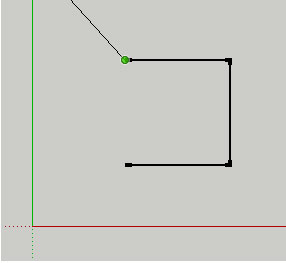
9. As you draw lines when a start or end point of the line aligns with another point, SketchUp will signal graphically by drawing a red, green or blue line from point to point – like the illustration below:
14. Draw a plane
- Draw a rectangle
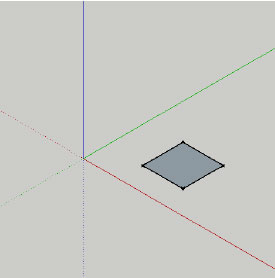
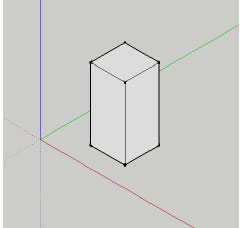
- Change to a 3d view: select the isometric icon:
- The drawing will look like this:
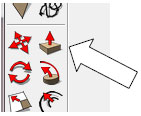
- Select the Push-Pull tool:
- Click the left mouse button on the top face and pull it up. If you want to be precise about the distance, type a number (add the foot mark if you mean feet).
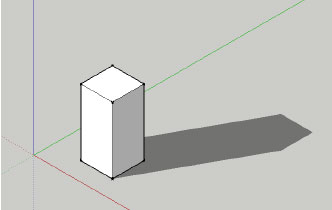
- Turn on shadows:
- Note that you can set the month of the year and the time of day for setting the sun direction.
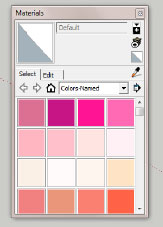
- You can change the color of any modeled surface. To do that, select the Paint Bucket:
- The Materials dialogue box will appear.
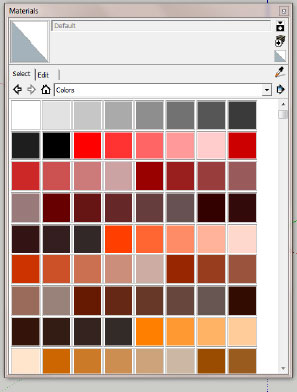
- Select "Colors" from the pull-down list:
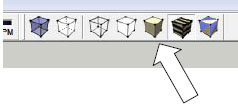
- Make sure that "Shaded" button is turned on:
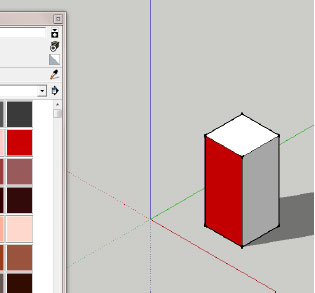
- Select a color from the color palette and pick a plane that you want to color:
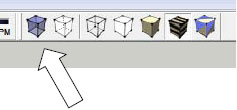
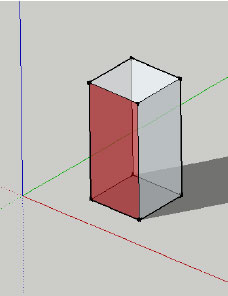
- If you turn the X-Ray icon on, also, you can see into the object:
- Other ways of viewing your objects are "Wireframe," "Hidden Line," and "Shaded."


19. To move, rotate or scale an object, first select the whole object using the select tool .You can pick one part at a time or select with a window or a crossing window. If you want to select several parts one at a time, hold down the shift key. To unselect an a part of object that has been selected, hold the shift key down and reselect it. If you want to cancel the selection, just right click the mouse on a blank area of the drawing.

20. Then pick the "Move" or "Rotate" or "Scale" tool:
![]()
21. To lengthen a line, click on the Move tool, click on the end of the line you want to lengthen (there will be a green grip appear) and move it to a new location.
22. To copy an object, use the Move tool, but hold down the Ctrl key while moving.
23. To mirror, select the objects, right click and pick "Flip Along" then select red, green or blue direction. You cannot mirror along a diagonal axis, so you have to mirror first then rotate the object. If you want to mirror an object and keep the original, make a copy of it first.
24. Saving: pick the Save icon or select File and then Save. The first time you save you will be prompted for a name for the file as well as a location in which to save it.
Continued Read - Click (2nd Page)
- Cover Story
-
 SketchUp Can Help You Win Interior..
 -
 Best Laptops for SketchUp
 -
 How to Resize Textures and Materials..
 -
 Discovering SketchUp 2020
 -
 Line Rendering with SketchUp and VRay
 -
 Pushing The Boundary with architectural
 -
 Trimble Visiting Professionals Program
 -
 Diagonal Tile Planning in SketchUp
 -
 Highlights of some amazing 3D Printed
 -
 Review of a new SketchUp Guide
- Sketchup Resources
-
 SKP for iphone/ipad
 -
 SKP for terrain modeling
 -
 Pool Water In Vray Sketchup
 -
 Rendering Optimization In Vray Sketchup
 -
 Background Modification In sketchup
 -
 Grass Making with sketchup fur plugin
 -
 Landscape designing in Sketchup
 -
 Apply styles with sketchup
 -
 Bedroom Making with sketchup
 -
 Review of Rendering Software
 -
 Enhancing rendering for 3d modeling
 -
 The combination of sketchup
 -
 Exterior Night Scene rendering with vray


