Author : Frank Fheitzma
SketchUp basics - Frank Fheitzma
25. How to draw a building with a gable roof.
- Draw a rectangle
- Extrude it vertically
- Draw a line down midpoint of one top edge to the other
- Use the Move command to drag that line vertically (along the blue axis)
26. How to draw a building with a hip roof
- Draw a rectangle
- Extrude it vertically
- Draw a line down midpoint of one top edge to the other
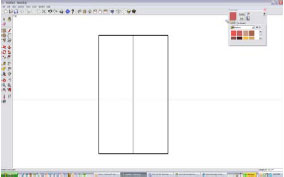
Draw a square from one corner to the line
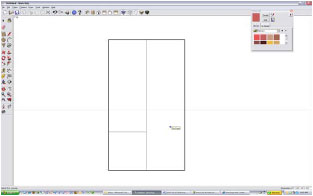
Draw the diagonal of the square (45 degrees)
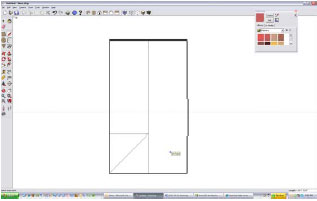
Draw the other diagonal (45 degrees)
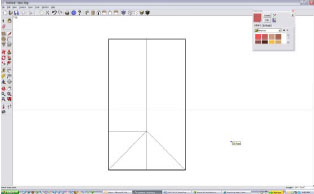
Erase the square
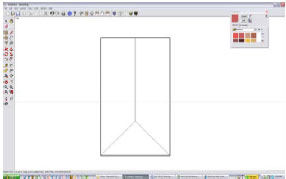
Repeat on the other side

Grab the top ridge with the Move tool and move up (along the Blue axis)
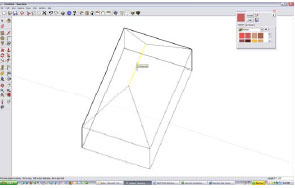
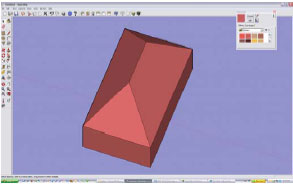
Bob's your Uncle
27. How to create Multiple Copies (Linear Arrays)
- The Move Tool can be used to create arrays, or a series of copies of geometry.
- To create multiple copies of one or more entities: Select the "Select" Tool. The cursor will change to an arrow.
- Select the entities to be copied.
- Select the "Move" Tool.
- Press and hold the Ctrl key on your keyboard. This action informs SketchUp that you want to duplicate the selected entities.
- Click on the selected entities to copy.
- Move your mouse to copy the entities. A copy of the selected entities will follow as you move your mouse.
- Click at the destination point to finish your copy operation. The copied entities are now selected and the original entities are deselected.
- Type a multiplier value to create additional multiple copies. For example, typing in 2x (or *2) will create one additional copy (or 2 copies total, the one you manually copied plus one you automatically copied using this step) instead of just one.
28. How to draw roads:
- Start with a large rectangle, which will be the ground plane
- Draw lines on it 25' apart.
- Connect the corners
- Draw an arc at each intersection
- Erase the excess
- Make closed at ends to turn into a plane
- Extrude 3' vertically down. (I know this is too large of a curb height, but we want to make a visible depth to the road).
29. How to use the "Follow Me" Tool
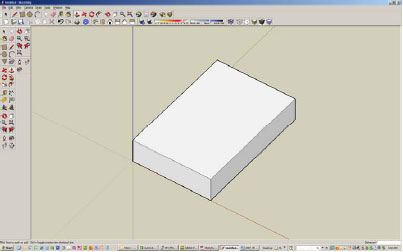
Draw a rectangle 30' in the X direction and 40' in the Y direction.
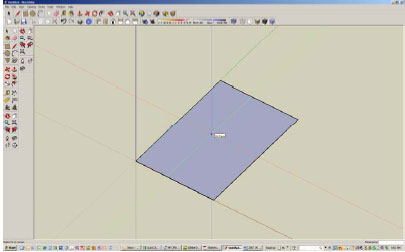
Pull it up 6'
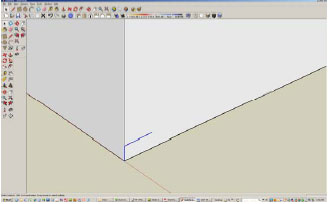
Draw a line 6" up and 12" to right to form the first riser and tread.
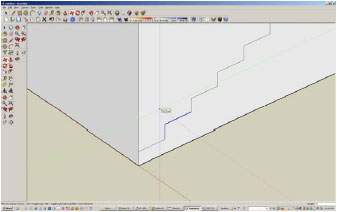
Copy these two lines by selecting them first, then select the move command, and pick the first point as the bottom of the riser, the press and hold the control key down and pick the right end of the horizontal line, then type x11. This will array the steps 11 times.
Note that the top portion of the cube can now be pushed and pulled separately from the bottom. That is required to use the FollowMe tool.
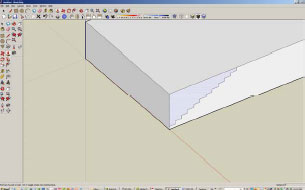
Select the FollowMe tool.
Place the cursor over the top part of the cube above the steps and click with left button.
Place the cursor and follow it along the top edge of the cube – you will see the edge line turn red.
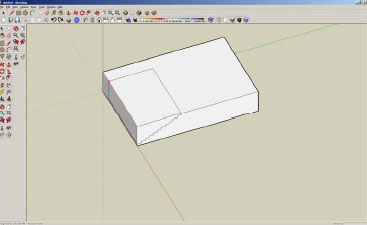
Follow all along the left and far edge:

This is the result:
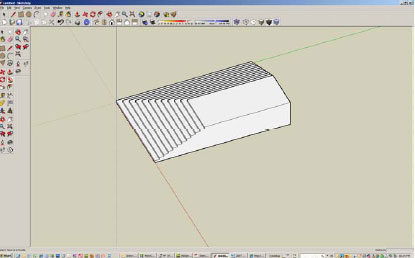
You could follow it all the way around if you had enough width to do stairs all around.
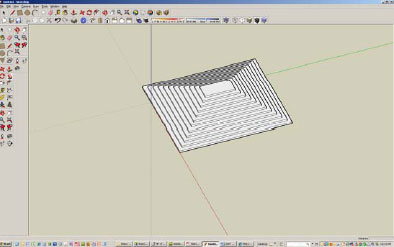
Pretty cool – this takes some practice. So go ahead, practice!
Continued Read - Click (3rd Page)
- Cover Story
-
 SketchUp Can Help You Win Interior..
 -
 Best Laptops for SketchUp
 -
 How to Resize Textures and Materials..
 -
 Discovering SketchUp 2020
 -
 Line Rendering with SketchUp and VRay
 -
 Pushing The Boundary with architectural
 -
 Trimble Visiting Professionals Program
 -
 Diagonal Tile Planning in SketchUp
 -
 Highlights of some amazing 3D Printed
 -
 Review of a new SketchUp Guide
- Sketchup Resources
-
 SKP for iphone/ipad
 -
 SKP for terrain modeling
 -
 Pool Water In Vray Sketchup
 -
 Rendering Optimization In Vray Sketchup
 -
 Background Modification In sketchup
 -
 Grass Making with sketchup fur plugin
 -
 Landscape designing in Sketchup
 -
 Apply styles with sketchup
 -
 Bedroom Making with sketchup
 -
 Review of Rendering Software
 -
 Enhancing rendering for 3d modeling
 -
 The combination of sketchup
 -
 Exterior Night Scene rendering with vray


