
SketchUp Digital Watercolor for a Museum Classroom
Visualizing interior spaces with Google SketchUp has always been challenging because the basic 3D modeling program lacks interior lighting tools. Hooray for plugins! My friend Daniel Tal recently introduced me to a photorealistic rendering software called Shaderlight which is a fantastic light and shadow simulation plugin for SketchUp. By placing individual lights, one can determine their color, direction, intensity and degree of spread.
My visualization for a young children’s classroom located within a natural history museum was a perfect opportunity to explore the merging of 3D modeling, traditional hand drawing, photo-realistic rendering and digital manipulation. My goal was to create another “Digital Watercolor” - a process I’ve been exploring that simulates a traditional watercolor painting, but is completely developed with alternative methods. My process is three-fold, 1) build a SketchUp model and export a photorealistic rendering, 2) hand color a print with Chartpak AD markers, and 3) Digitally alter a scanned image with a Photoshop watercolor filter.
Step 1: Google SketchUp Model
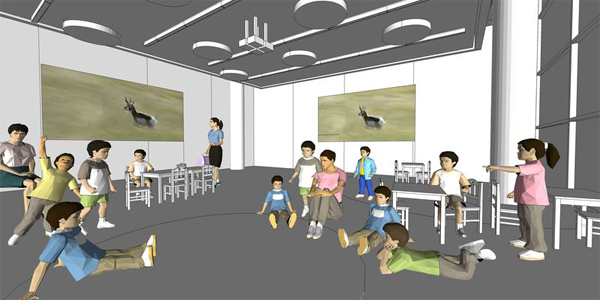
First Generation SketchUp Model. The initial SketchUp model I created for the classroom was intended for client review and selection of the best viewing angle. I explored several focal length options and picked a 35mm scene to show more of the interior space without too much of a wide angle distortion. I sent a view to my client with lots of questions about how many kids, number of teachers, what were the different activities, projection screen size and image, etc. Feedback was timely and I proceeded to develop the model with more detail.
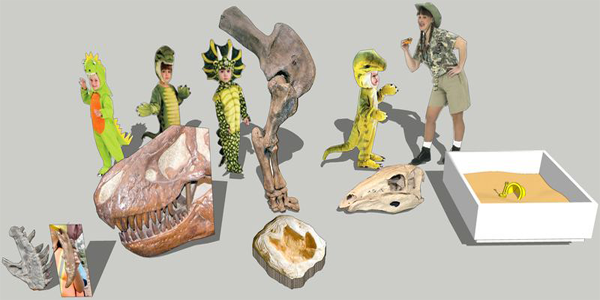
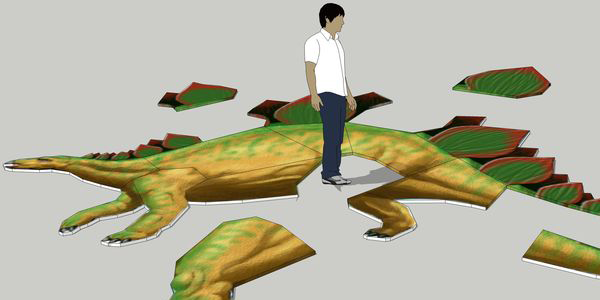
SketchUp Custom Components. Based on client request, I needed to include kids in dinosaur costumes, display fossils, footprints, a discovery sand box for digging up dinosaur bones, and a large size stegosaurus floor puzzle. I found images from Internet and digital photographs provided by the museum and simply created individual components that I inserted into the base model.
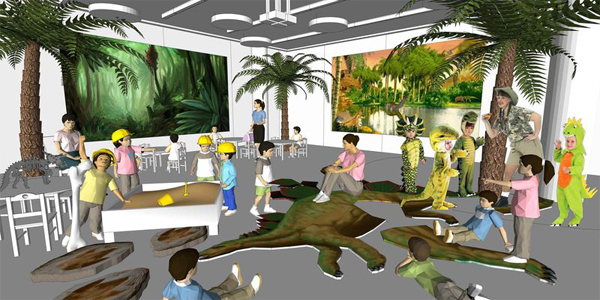
Second Generation SketchUp Model. This next version of the model raised the viewing angle to see more of the floor puzzle and added trees, more children with costumes and hard hats, furniture and larger wall projections. I sent another jpeg to my client for last minute review and comment.
Third Generation SketchUp Model. The final 3D model included revised projected images, more dinosaur bones near the sand box and adjustments to people working on the floor puzzle. Based on feedback from scientists, I even modified the three palm tree trunks to match the prehistoric vegetation shown in the wall projection!
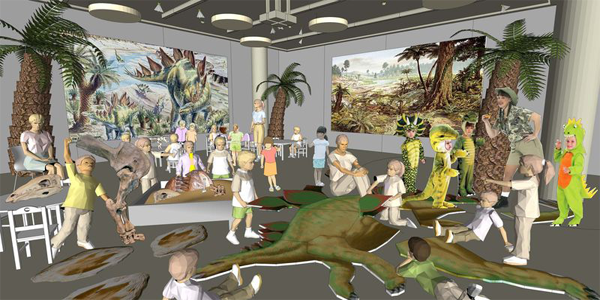
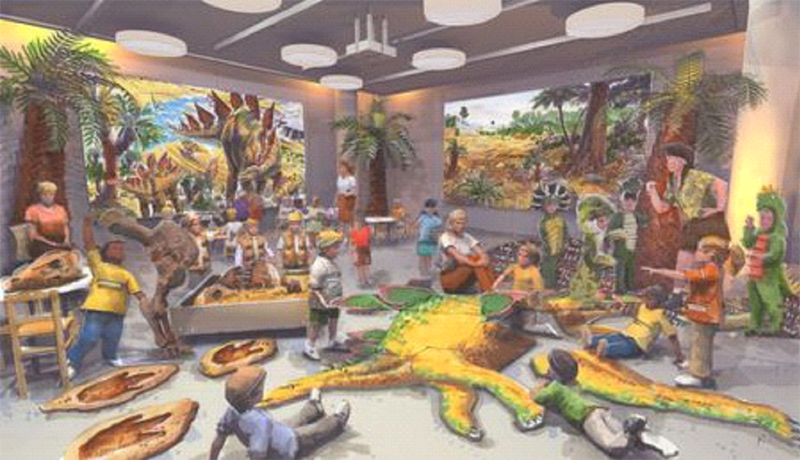
Photorealistic Rendering. With the model composition approved, I opened Shaderlight (a SketchUp plugin) and placed two dozen overhead lights into the model. I positioned some lights for general illumination and located specific spot lights to highlight the table tops and sand box. The illumination over the palm trees was created with a yellow colored spotlight to add drama and cast orange shadows onto the floor. Placing and adjusting the artificial lighting in this model was the most time consuming step of the modeling process!
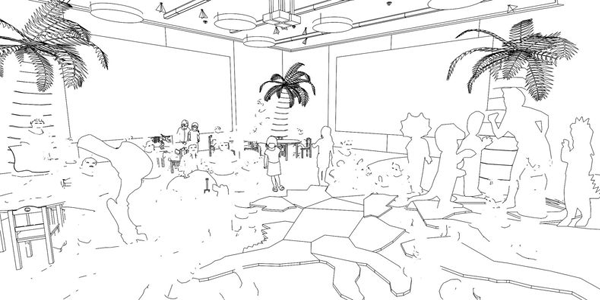
Exported SketchUp Edges. The Shaderlight photo realistic rendering did not replicate the critical edges of the floor puzzle and overhead light fixtures. I exported the SketchUp model edges and layered them back into the Shaderlight view using Adobe Photoshop.
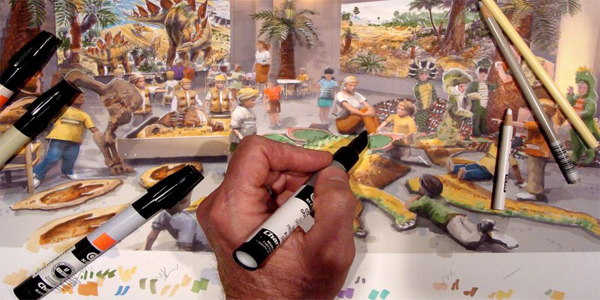
Print and Color with Markers. I exported a high resolution 10”x17” TIFF image of the scene and lightened the image in Photoshop. It was important to fade back the color to about 75% of its original intensity so that color could be added back using color markers. I printed the image on heavy weight matte finish Epson paper and colored much of the image with Chartpak AD markers.
I also highlighted edges and people with a white Prismacolor pencil to add more of a “hand drawn” character to the image. Another subtle touch was to overdraw some of the people and objects with a very light graphite pencil. The final colored print still looked intensionally faded, which was still necessary prior to the final watercolor filtering.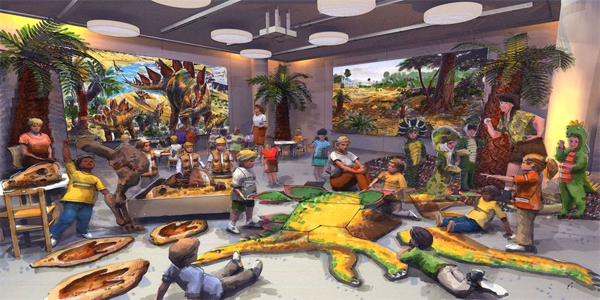
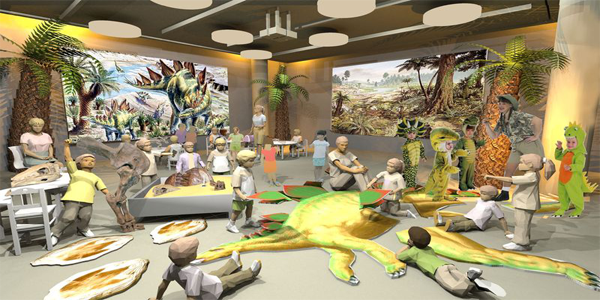
Photoshop Watercolor Filter. I scanned the hand colored image at 300dpi and applied a watercolor filter using Adobe Photoshop. I increased the contrast to the filtered image which deepened the blacks and highlighted the whites. The watercolor filter gave all of the marks made from the Chartpak AD markers a modeled appearance with slightly darker edges to the color - a typical characteristic of watercolor paint.
The final image had the appearance of an actual watercolor painting and was quite liked by my client. The secret to creating a successful digital watercolor is with the amount of marker you apply to the lightened print. Don’t be afraid to dab the marker beyond the linework as the “imperfection” of the marker creates the spontaneous appearance of paint and brush marks.

- Sponsored Plugins


- Sponsored Plugins

- Cover Story
-
 SketchUp Can Help You Win Interior..
 -
Best Laptops for SketchUp
-
How to Resize Textures and Materials..
-
Discovering SketchUp 2020
-
Line Rendering with SketchUp and VRay
-
Pushing The Boundary with architectural
-
Trimble Visiting Professionals Program
-
Diagonal Tile Planning in SketchUp
-
Highlights of some amazing 3D Printed
-
Review of a new SketchUp Guide
- Sketchup Resources
-
SKP for iphone/ipad
-
SKP for terrain modeling
-
Pool Water In Vray Sketchup
-
Rendering Optimization In Vray Sketchup
-
Background Modification In sketchup
-
Grass Making with sketchup fur plugin
-
Landscape designing in Sketchup
-
Apply styles with sketchup
-
Bedroom Making with sketchup
-
Review of Rendering Software
-
Enhancing rendering for 3d modeling
-
The combination of sketchup
-
Exterior Night Scene rendering with vray