If you want to make a curved surface in SketchUp, in can be a difficult process to get it just the way that you want it. You can draw it manually line by line, by this is very time consuming and it is very hard to make it look good and smooth. There are plugins that make this much easier, but I’ve discovered a way of getting smooth rounded shapes just using basic SketchUp.
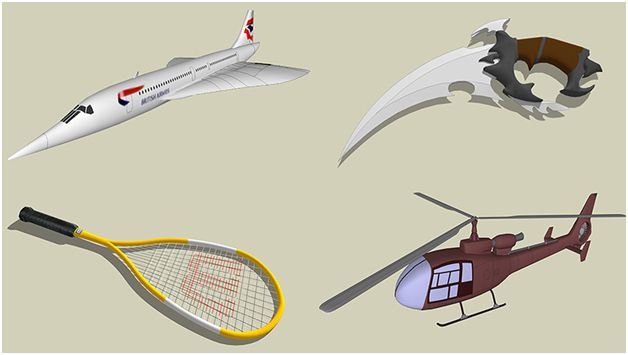
There is a method that I call “Pull and Scale” that is an easy way to make almost anything that you can think of. Here are some examples of models that I’ve made using this method.
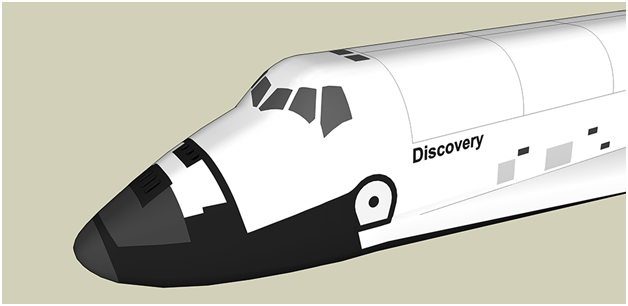
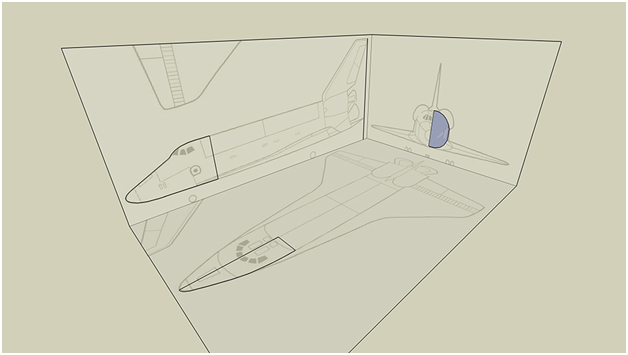
For this tutorial, I will show making the front part of this space shuttle:
The easiest way to start is with images or line drawings of the front, side and top. These are easy to find online for almost anything you want to make.
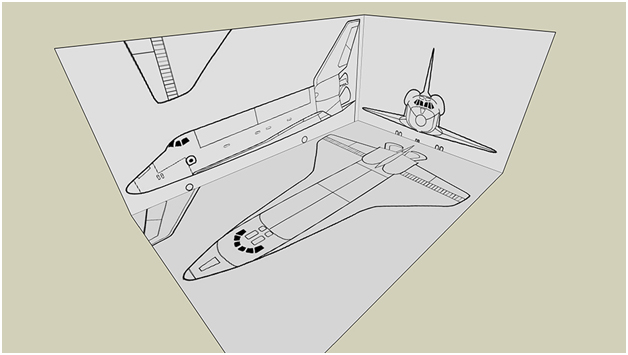
Of course, reference drawings aren’t necessary for this procedure, but I like having them to make sure that the model I draw is in scale. I typically trace over the drawing to get the overall shapes that I want to work with. Also, since the shuttle is symmetrical left and right, I make trace half shapes. This way you can mirror it over in the end and your model stay perfectly symmetrical.
So choose the starting method that you like best. For this tutorial I setup the images as follows, and trace over them. Notice the only one of the shapes is filled in. This is the face that we’ll be working with. The face of the others has been deleted so it’s just linework. This makes it easier to see what you are doing. Make the line work groups, so you don’t accidentally change the shape of it while modeling. If also helps to lock the object so you can’t move it at all.
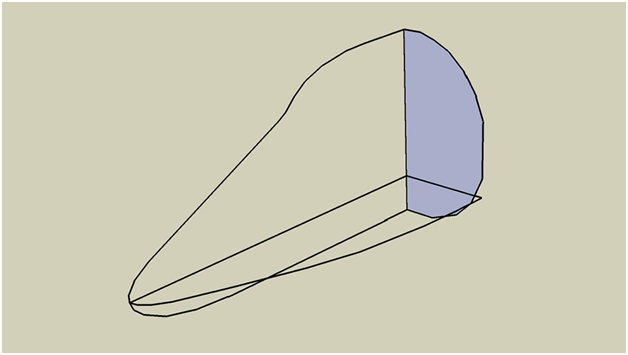
Using the Pull tool, pull the face out a bit. The smaller you pull it, the smoother the final shape will be. For a more complicated shape, or for parts that are much more curved, use a very small pull distance. For this relatively simple shape, I can use a larger distance.
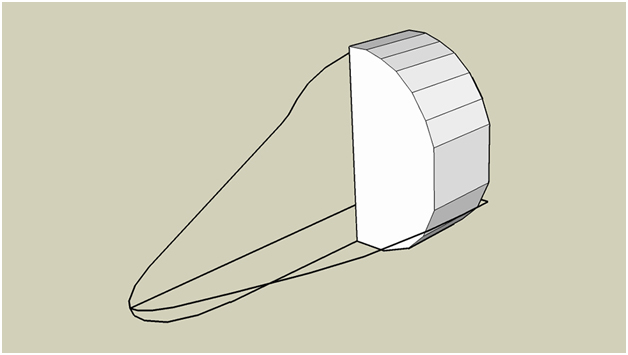
Select the new face on the end and using the Scale tool to change its shape. Be sure to not scale the shape using the grips in on the left side of the shape. This will make an uneven surface to mirror the shape in the end. This is where the reference line drawing come in handy. You can snap to them to make sure that you are getting the correct shape.
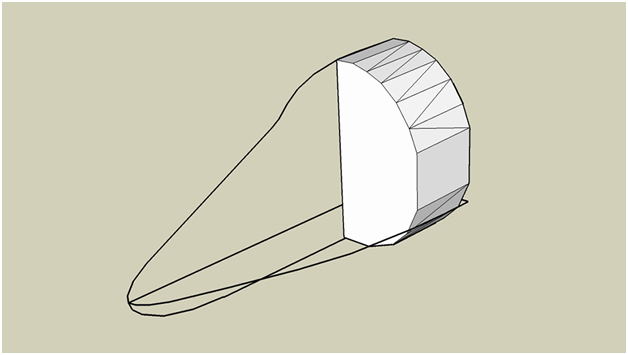
Continue this procedure for the entire shape. Notice that for the front tip of the shuttle, I used a smaller pull distance because I wanted a smoother nose.
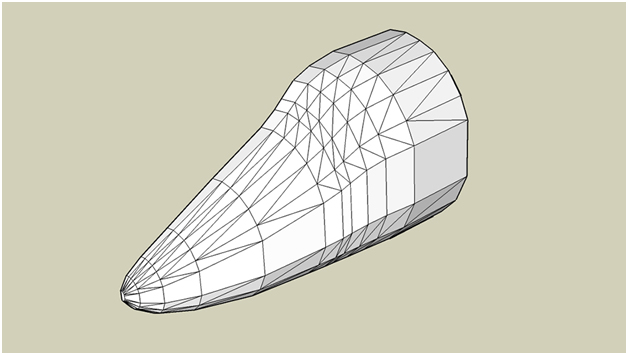
Highlight the entire model and go to Window -> Soften Edges, and set the slider to around 45 degrees. This will makes the shape look much smoother.
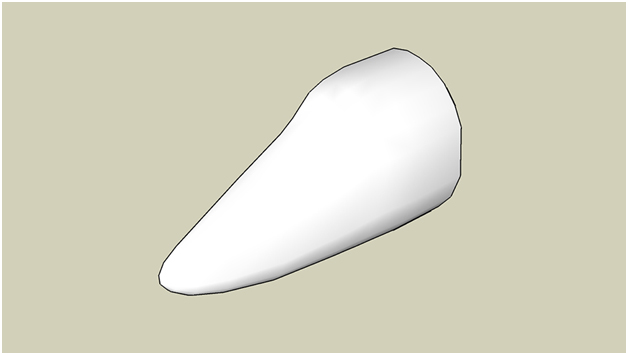
When the shape is complete, delete in inner and back faces and lines, so you are left with the shell only.
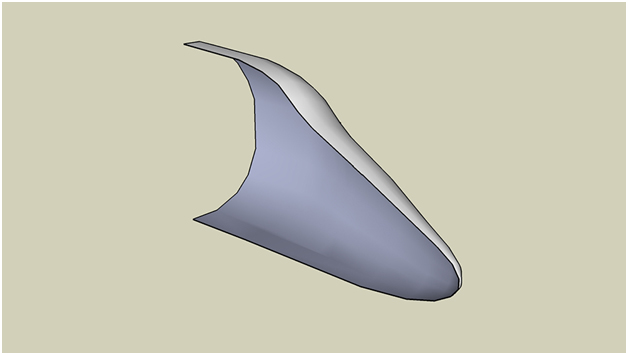
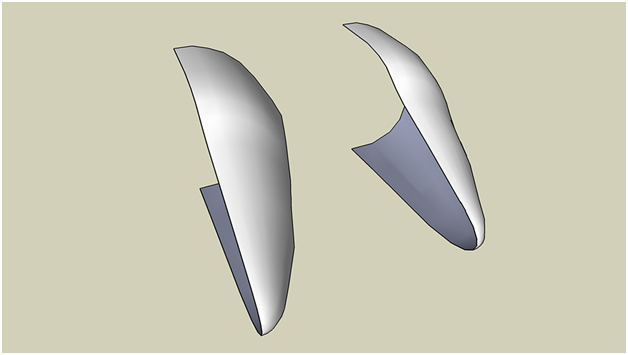
Now using the move tool select the model and press Ctrl to make a copy. Place the copy next to the original shape.
- Cover Story
-
 SketchUp Can Help You Win Interior..
 -
 Best Laptops for SketchUp
 -
 How to Resize Textures and Materials..
 -
 Discovering SketchUp 2020
 -
 Line Rendering with SketchUp and VRay
 -
 Pushing The Boundary with architectural
 -
 Trimble Visiting Professionals Program
 -
 Diagonal Tile Planning in SketchUp
 -
 Highlights of some amazing 3D Printed
 -
 Review of a new SketchUp Guide
- Sketchup Resources
-
 SKP for iphone/ipad
 -
 SKP for terrain modeling
 -
 Pool Water In Vray Sketchup
 -
 Rendering Optimization In Vray Sketchup
 -
 Background Modification In sketchup
 -
 Grass Making with sketchup fur plugin
 -
 Landscape designing in Sketchup
 -
 Apply styles with sketchup
 -
 Bedroom Making with sketchup
 -
 Review of Rendering Software
 -
 Enhancing rendering for 3d modeling
 -
 The combination of sketchup
 -
 Exterior Night Scene rendering with vray


