Author : Lee Wylde
V-Ray Polar Light Trails
In a follow up to my previous post regarding the fundamental settings to achieve linear light streaks using V-Ray and 3D Studio Max, I have received an inquiry regarding polar movements, i.e an object that is illuminated and spinning on an axis.
FYI I have set this scene up using HDRI and V-Ray Physical Cameras.
You can download the scene and it’s contents here VR_Polar_Light.
It’s a great questions. Let’s take a look at how we can achieve this.
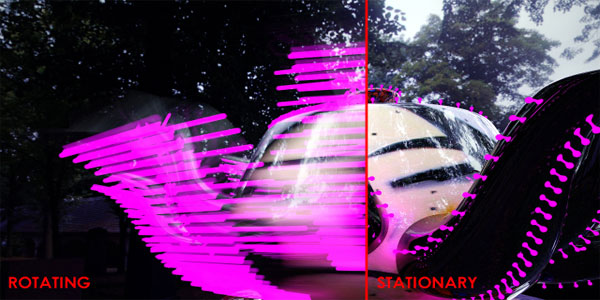
Take this scene for example, it is similar to a fairground ride. Created from a tea pot of course! Each spout is an arm and has three layers of lights. These lights are simply bulbs that have been given a V-Ray Light Material.
Here is the scene in its entirety:
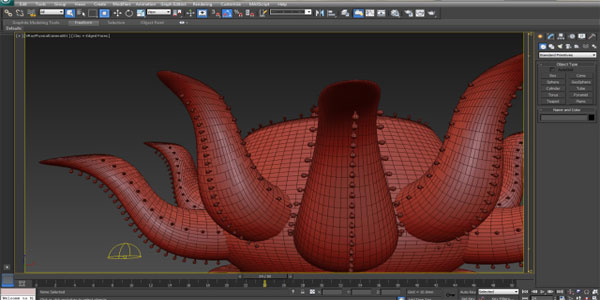
Here is a normal render of the scene without any motion blur being added, and with the respective camera settings:
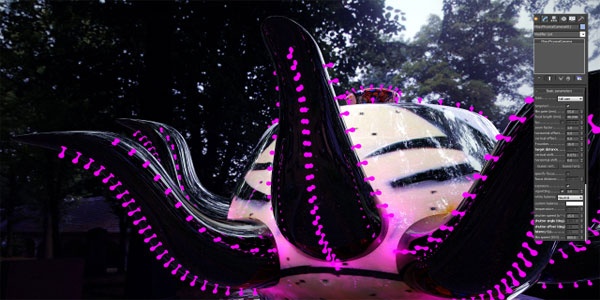
Take a look at the material settings for the V-Ray Light Materials. I have set these up so you can change them to suit your needs, and to also have some fun with the lighting effects. Here is a sample if I change all 4 lights to alternate colors:
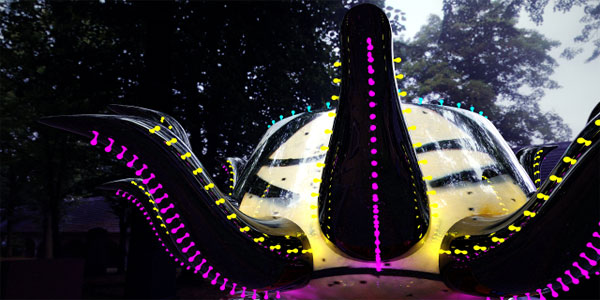
So now let’s look at the characteristics of the scene than enable the light trails.
Firstly the mesh must be rotating in order to produce the effects contributing to motion blur, so we need motion. If you press the backslash button next to shift on your keyboard you should see the animation playing.
Now you will notice that the tea pot is made of components and these components have all been grouped. This is incredibly important, we only want to deal with the teapot in it’s parental state and not go adding separate animation information to the groups contents, i.e we want to only have one element to deal with.
If you right click on the mesh and view its properties you will see the Motion Blur settings. Just observe them don’t change them.
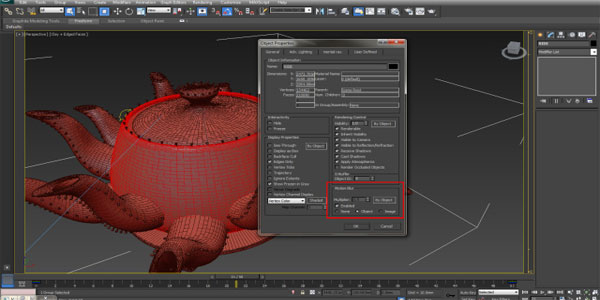
With this selected it now means we can expect some motion blurring to occur in the render output.
Go back to your scene and choose frame 21 on the time slider.
Now we will enable the Motion Blur function in the V-Ray Physical Camera and produce a test render. For the first render we will keep the quality of the camera settings quite low. Take a look:
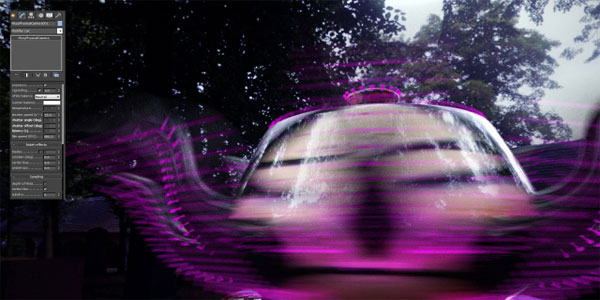
With the subdivs of the camera only set to 6 you can see the grain in the render. This is not only the subdivs, but an amalgamation of the camera properties.
Remember to always have a reference for what you are trying to achieve, take a look at this exposure guide Exposure Guide & Camera Settings.
So let’s go ahead and change the camera settings to a longer exposure. Alter your settings to match the ones in the render below:
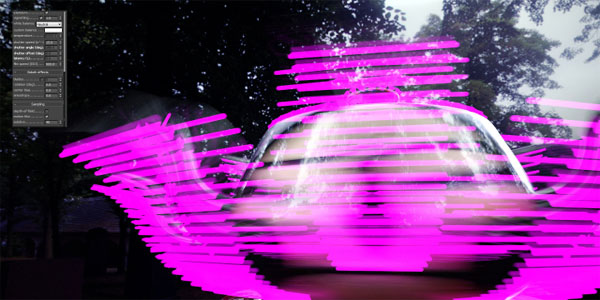
So you can see that it is not only the rotational speed of the object that determines the quality of the output, but a delicate balance of the V-Ray Physical Camera.
- Cover Story
-
 SketchUp Can Help You Win Interior..
 -
 Best Laptops for SketchUp
 -
 How to Resize Textures and Materials..
 -
 Discovering SketchUp 2020
 -
 Line Rendering with SketchUp and VRay
 -
 Pushing The Boundary with architectural
 -
 Trimble Visiting Professionals Program
 -
 Diagonal Tile Planning in SketchUp
 -
 Highlights of some amazing 3D Printed
 -
 Review of a new SketchUp Guide
- Sketchup Resources
-
 SKP for iphone/ipad
 -
 SKP for terrain modeling
 -
 Pool Water In Vray Sketchup
 -
 Rendering Optimization In Vray Sketchup
 -
 Background Modification In sketchup
 -
 Grass Making with sketchup fur plugin
 -
 Landscape designing in Sketchup
 -
 Apply styles with sketchup
 -
 Bedroom Making with sketchup
 -
 Review of Rendering Software
 -
 Enhancing rendering for 3d modeling
 -
 The combination of sketchup
 -
 Exterior Night Scene rendering with vray


