
Author : Irmin Verstappen
The Making of the Kitchen
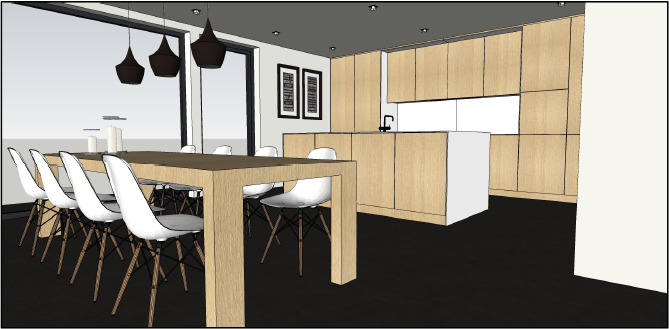
To start of I would like to say that only way to get a very good result is to make your overall model as detailed and realistic as possible. Also in the 3D warehouse you can find some very good objects to import in your model, and if you search a little you will find some nice 3ds files of a lot of furniture, especially design furniture (chairs, sofas, …). I also have uploaded some furniture to the 3d warehouse, such as the Eames chairs I used in this model.
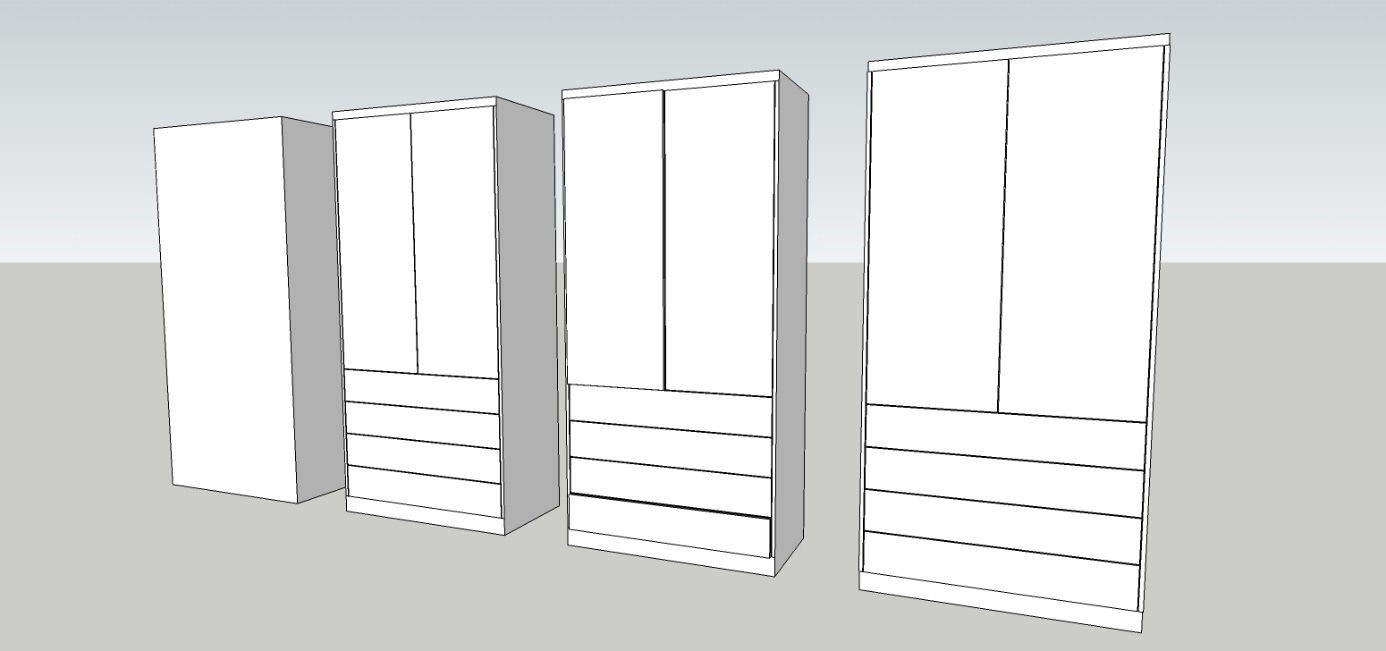
This model is drawn very symmetrical, so this makes the drawing time a lot shorter if you model wisely. Make sure you put everything in components, copy and invert them to get a fast result. I try to make as much components a possible, which makes it also easier to make changes afterwards, or attach materials to it.
When I draw a cabinet I start with a volume and on top of the front face I make the outline of the doors and for example the drawers. Then I move + copy each different rectangle 2mm in front of this surface, so that they are no longer attached the first volume. When they are copied, I use the push/pull tool to make the 18mm thick. I now make a component of each different rectangle (door and drawer) and copy them if necessary. Also don’t forget to make a component of the first volume at this stage.

A. Materials:
If you are new to Vray I suggest that you take a look at the way some materials are made, their reflection (an important part of Vray), bump and displacement maps. There are some great tutorials out there and one of my favorite websites is the blog of the great Nomeradona (sketchupvrayresources.blogspot.com). I spent hours trying his tutorials, a huge help!
1. Wall color: To help your interior render look brighter it helps to make your walls reflect a little. I used white as my base color, but it works with any color. And you will notice that the white has a tiny bit of grey to it… I always use ‘tex fresnel’ as my reflection.
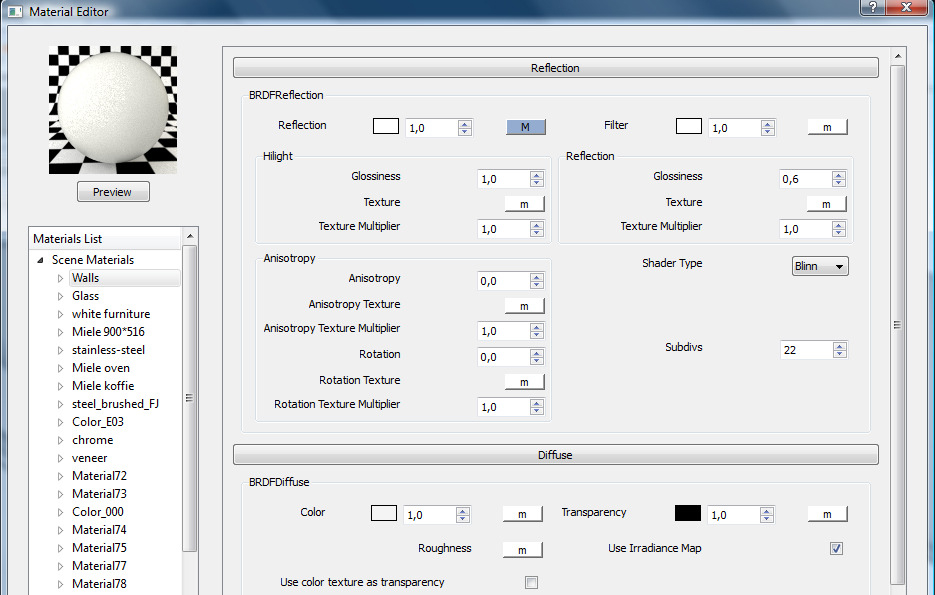
2. Glass: I start off with a basic glass, which you can find on the net, but I add a little fog color to it. To make it look more realistic. (btw there is a great glass tutorial on Nomeradona’s blog)

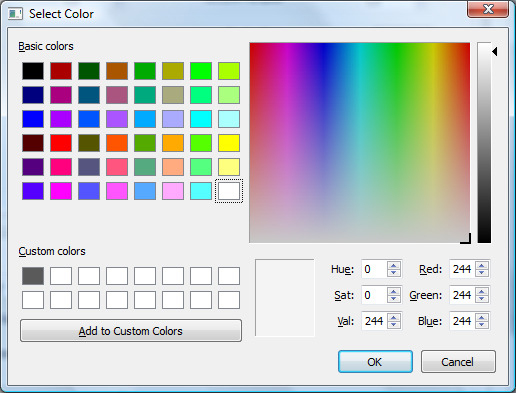
3. White furniture color: For the white counter tops I used little bit of shine. It should resemble composite stone…
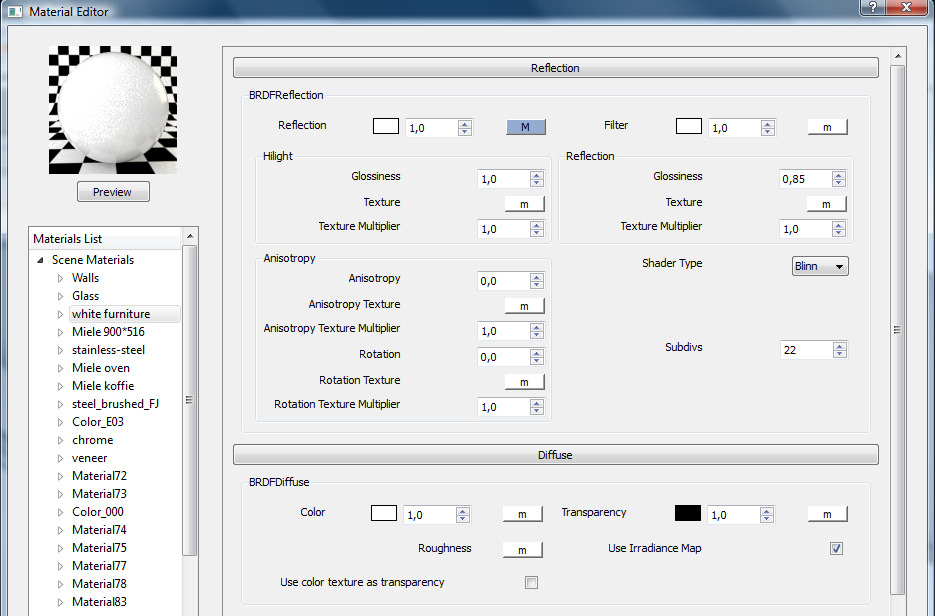
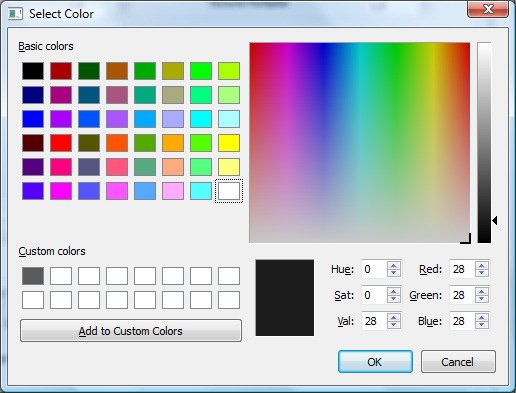
4. Chrome: Chrome is a material that I often use, and until recently I experimented a little bit with the reflection filter and the diffuse color, made it a little bit more grey. Otherwise it would look like a mirror. You have to add the texfresnel to the reflection layer.
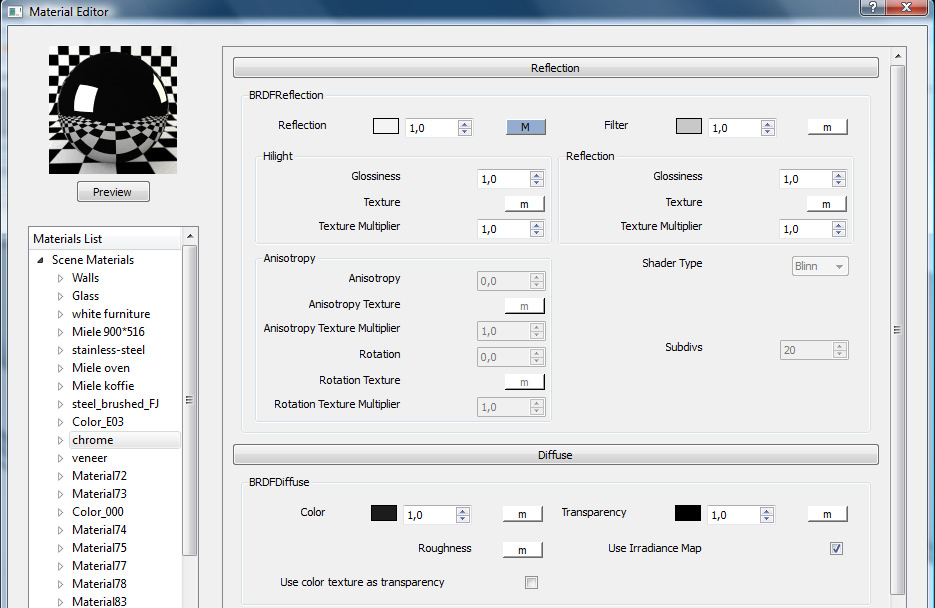
The diffuse color |
The reflection filter |
 |
 |
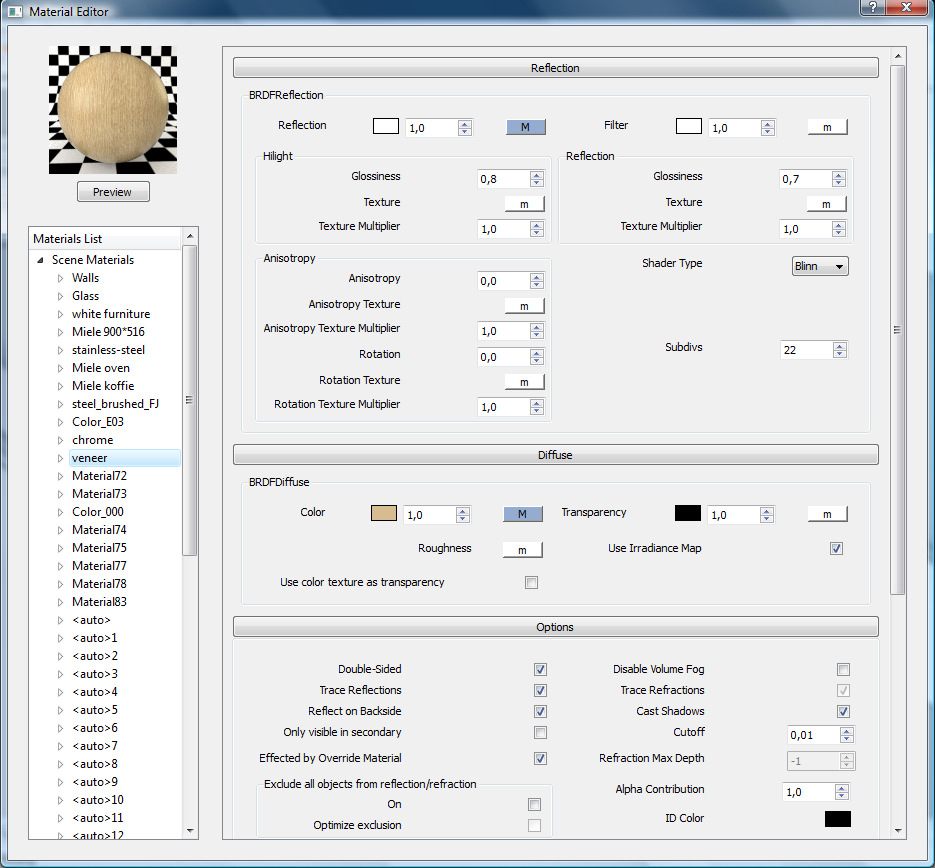
5. Veneer: There are some nice textures to be found, but always look for seamless onces, and try to figure out the correct scale. Also, veneer has some reflection, don’t forget! And when you have a render taken in close up, you can add a little bit of bump.
6. Lamp color (black aluminium, gold on the inside): I used a dark grey for this, relection filter also a little bit of grey, and bit of glossiness

All the other materials were found on the internet, and I didn’t change a thing to them!

- Sponsored Plugins


- Sponsored Plugins

- Cover Story
-
 SketchUp Can Help You Win Interior..
 -
Best Laptops for SketchUp
-
How to Resize Textures and Materials..
-
Discovering SketchUp 2020
-
Line Rendering with SketchUp and VRay
-
Pushing The Boundary with architectural
-
Trimble Visiting Professionals Program
-
Diagonal Tile Planning in SketchUp
-
Highlights of some amazing 3D Printed
-
Review of a new SketchUp Guide
- Sketchup Resources
-
SKP for iphone/ipad
-
SKP for terrain modeling
-
Pool Water In Vray Sketchup
-
Rendering Optimization In Vray Sketchup
-
Background Modification In sketchup
-
Grass Making with sketchup fur plugin
-
Landscape designing in Sketchup
-
Apply styles with sketchup
-
Bedroom Making with sketchup
-
Review of Rendering Software
-
Enhancing rendering for 3d modeling
-
The combination of sketchup
-
Exterior Night Scene rendering with vray