Author : Andrew Alexander
Detailed Process for Creating model of Shuttle, Speeder and Watch
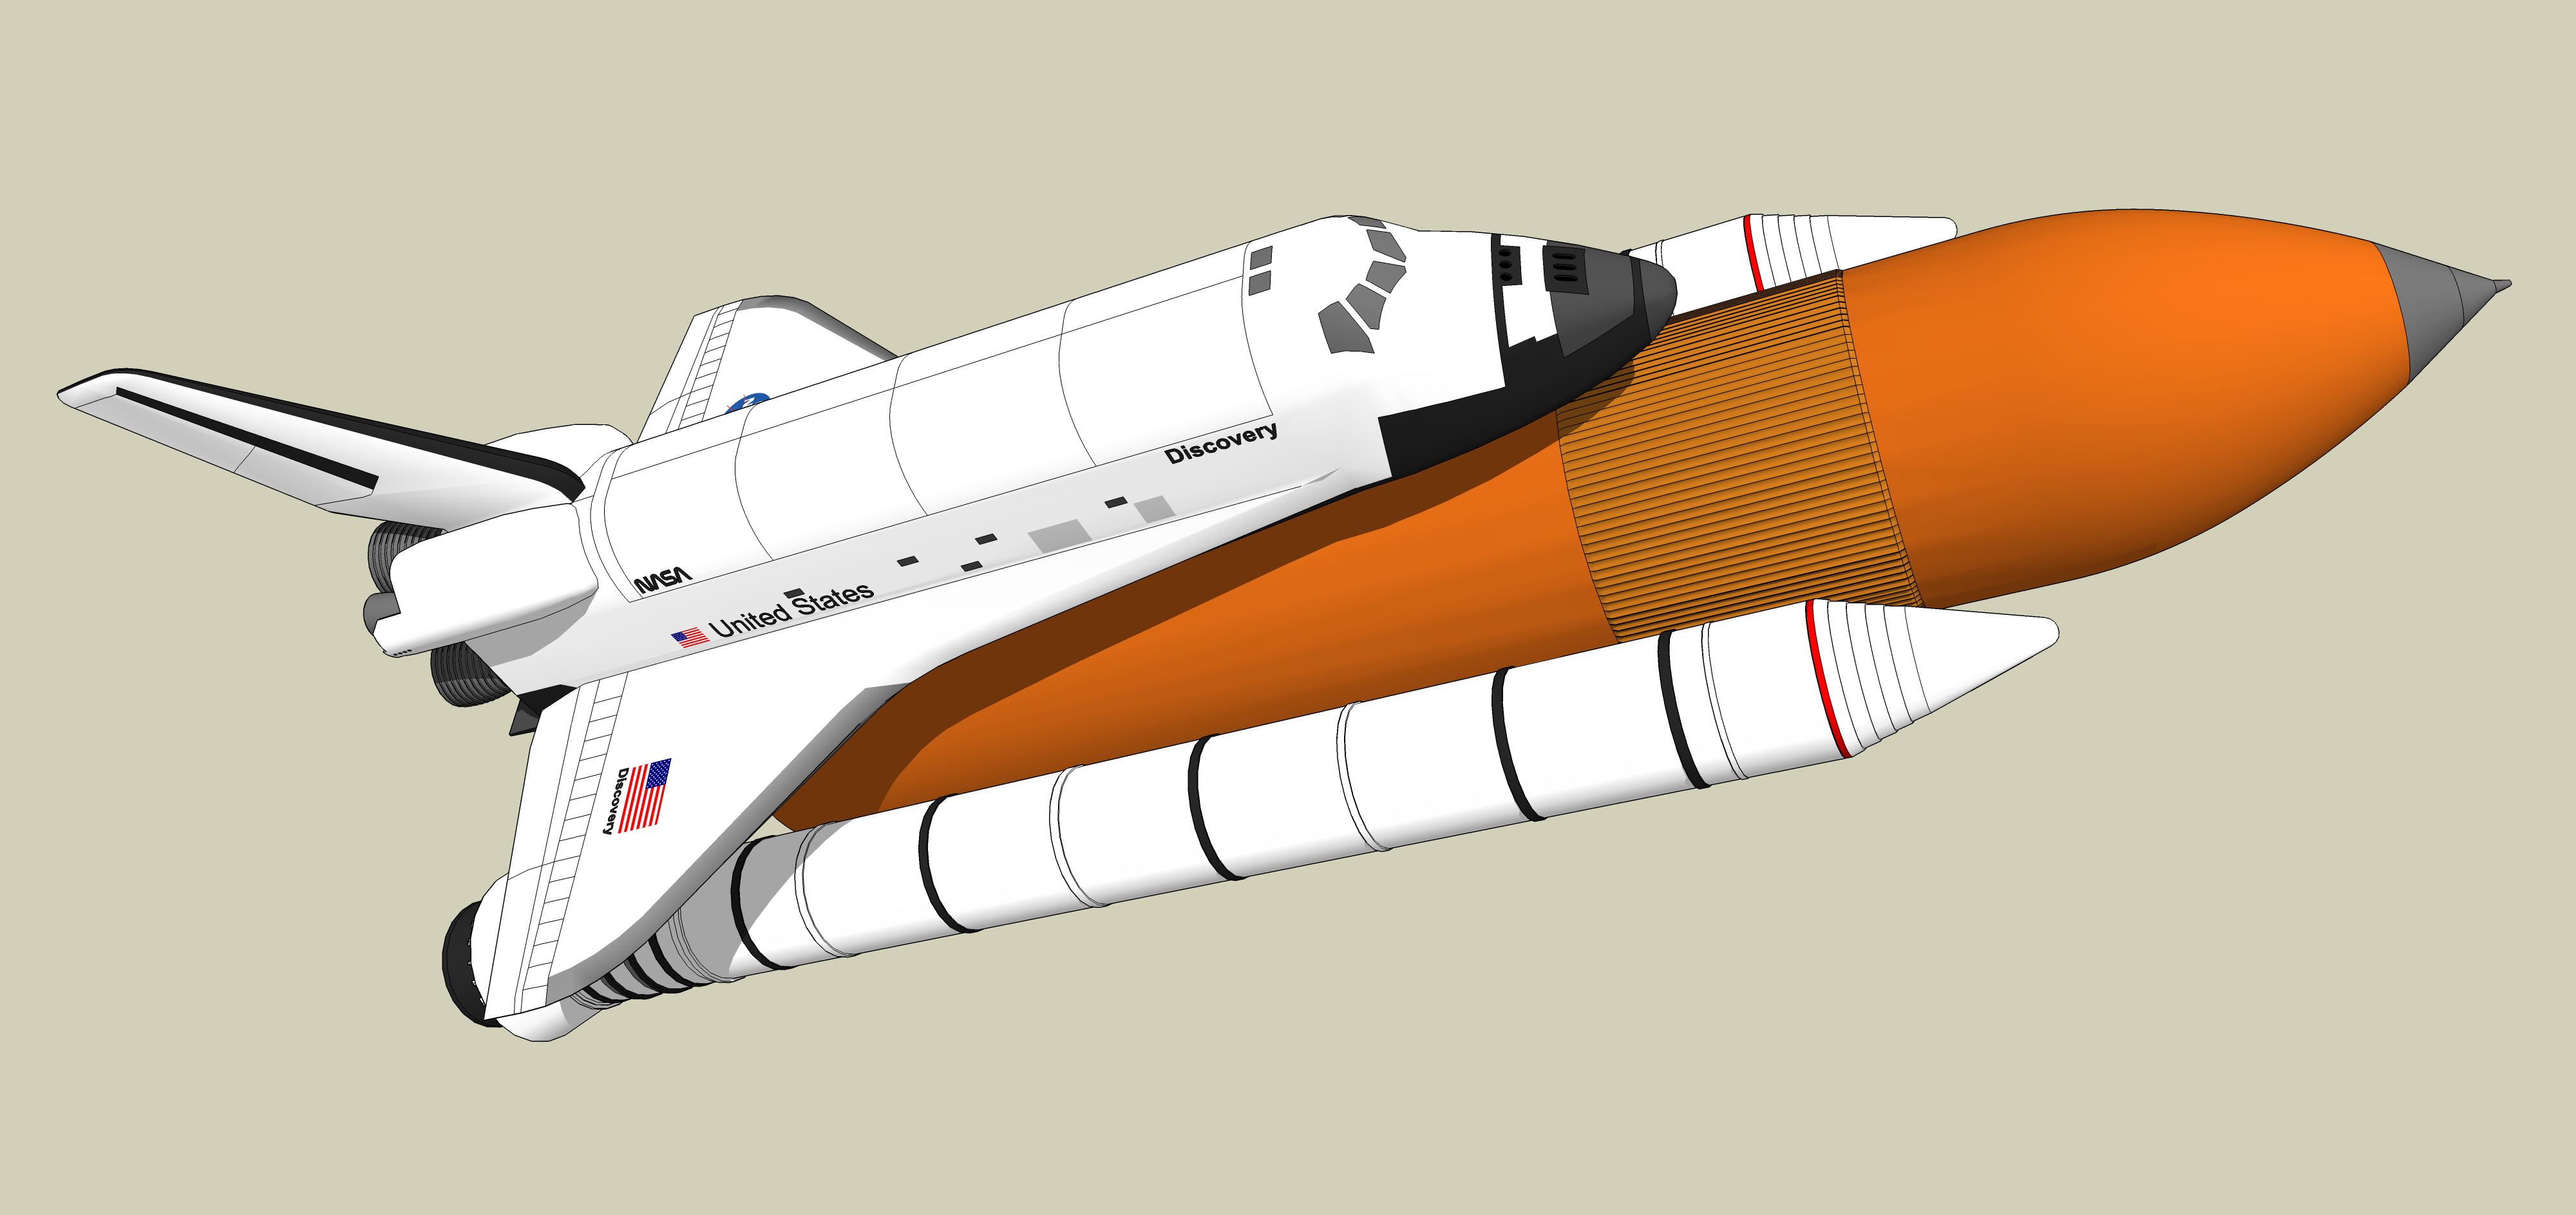
Shuttle: The middle part was easy, just a simple extrusion. The hardest part of this model was the shuttle itself. I started using simple shapes, but was not able to create the 3D compound curves needed for the front of the shuttle. For the cockpit, I started with the left half of the shape, extruded it a bit, and resized the newly extruded shape. Then I extruded the new resized shape, modified it a bit more, and continued this process until I had the overall shape I was looking for. This gave me half of the cockpit, and all I needed to do was to mirror it to the other side and it was done. I used plan and elevation line drawings of a shuttle for reference.
The “NASA”, “United States” and “Discovery” text on the side of the shuttle are not images; They are cut into the side of the model using 3D text, and then coloured black. I find this always preferable to using pictures, because then it is a vector based text and doesn’t reduce in quality when you get close.

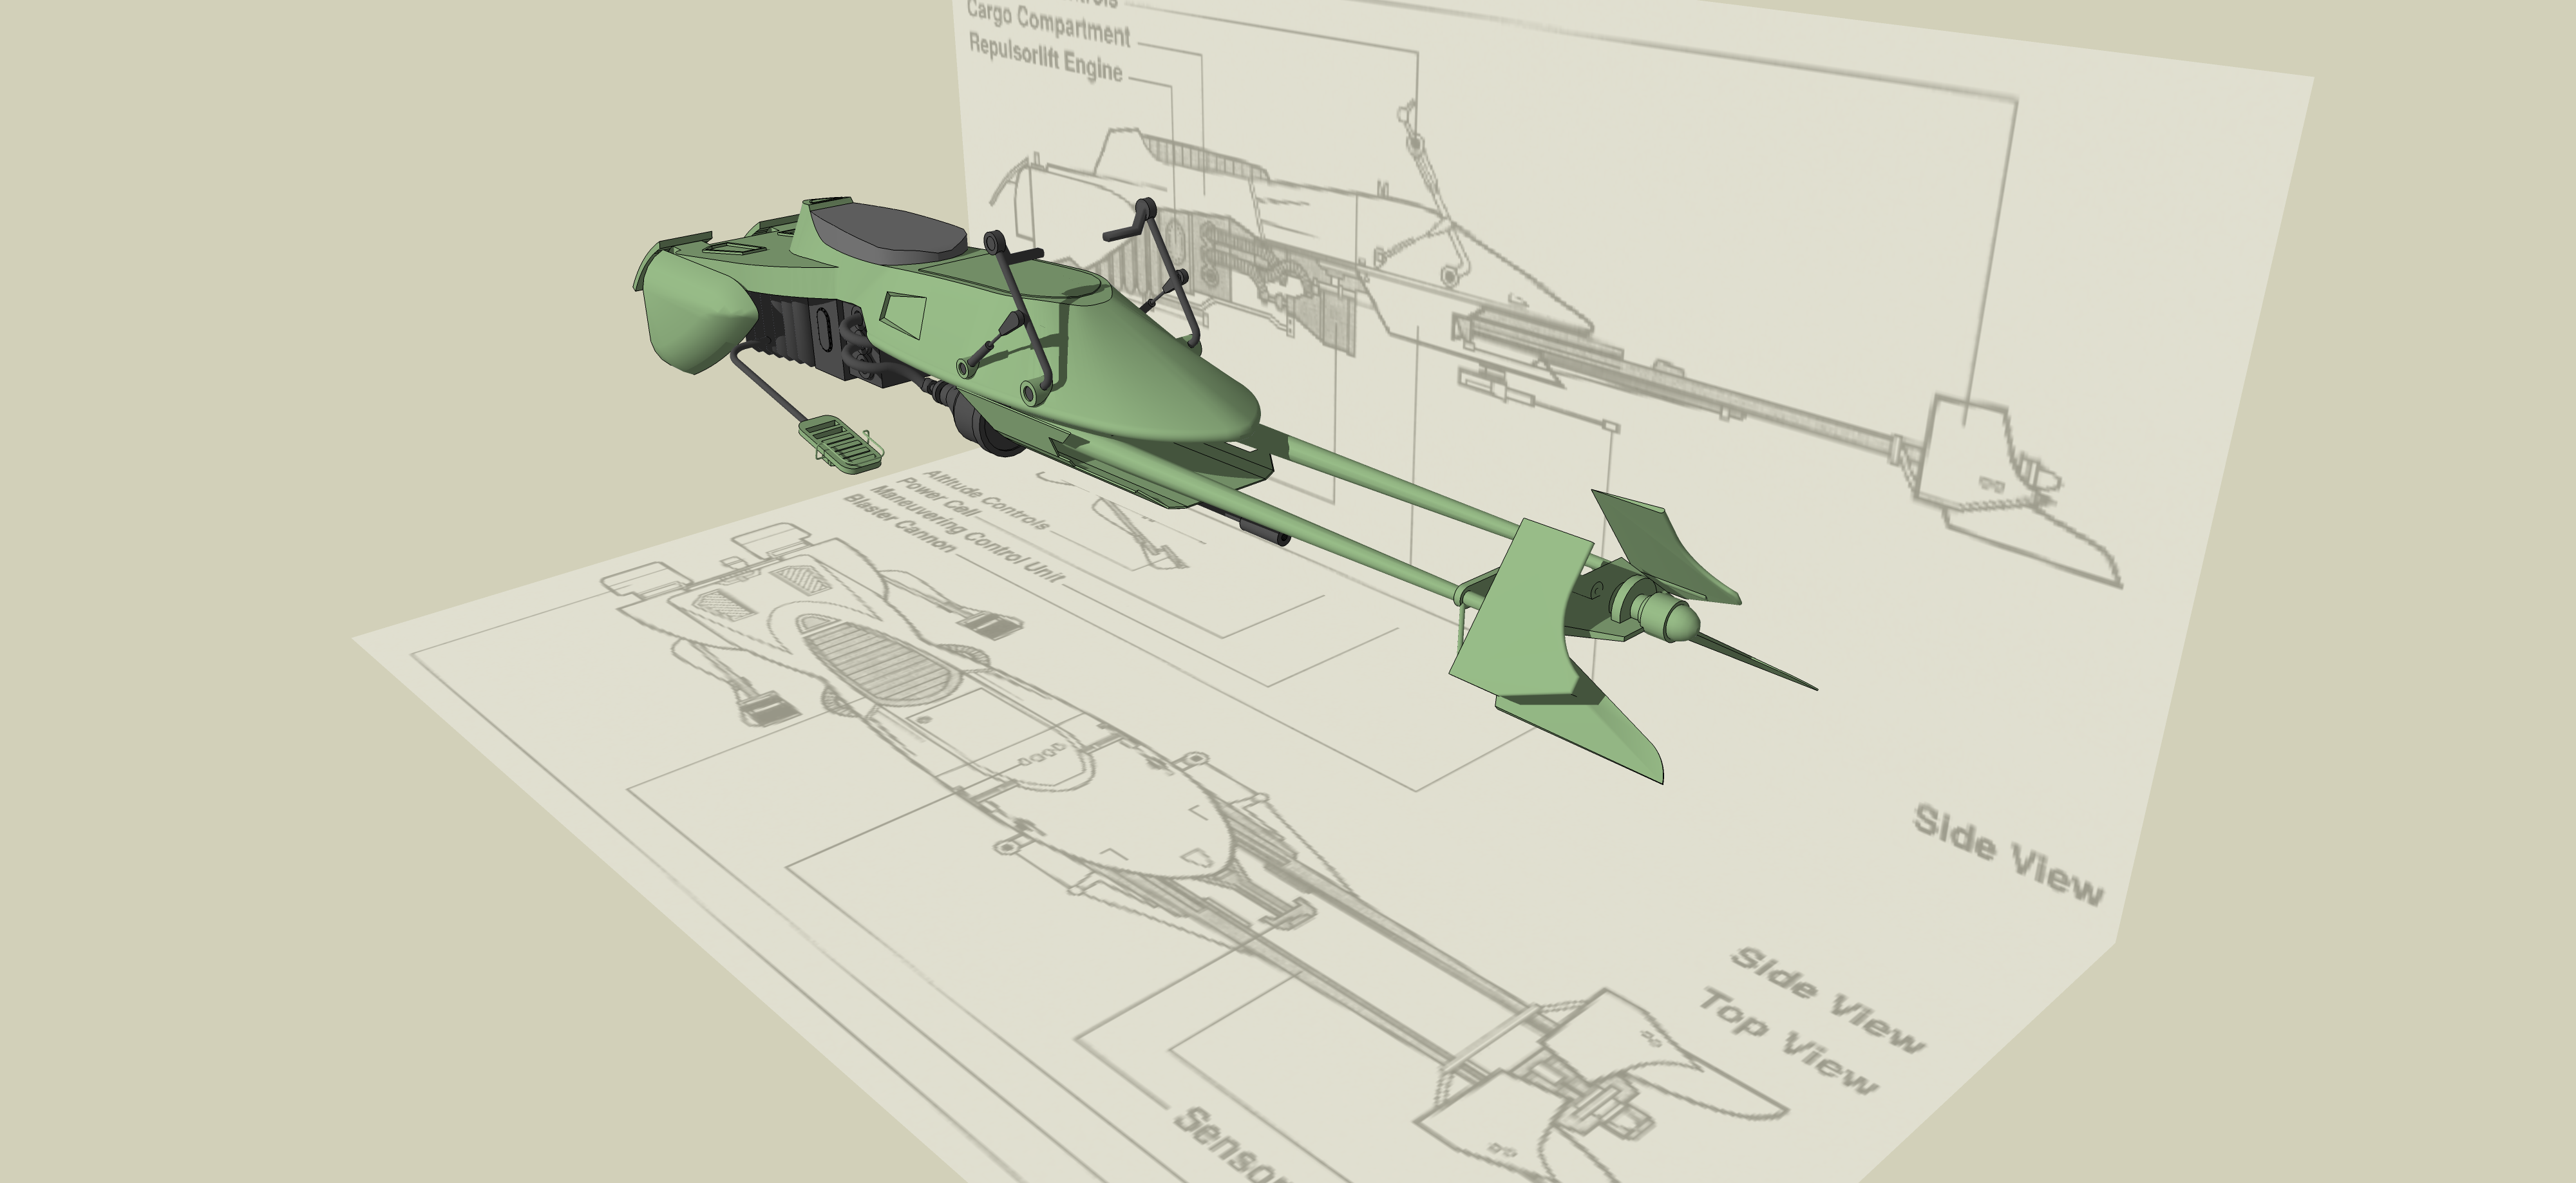
Speeder: I find it helpful to use line drawings in plan a elevation to work from for models. In this one, I model one half of it, and then mirrored it over to the other side. Components were very useful because there were a lot of intersecting parts.

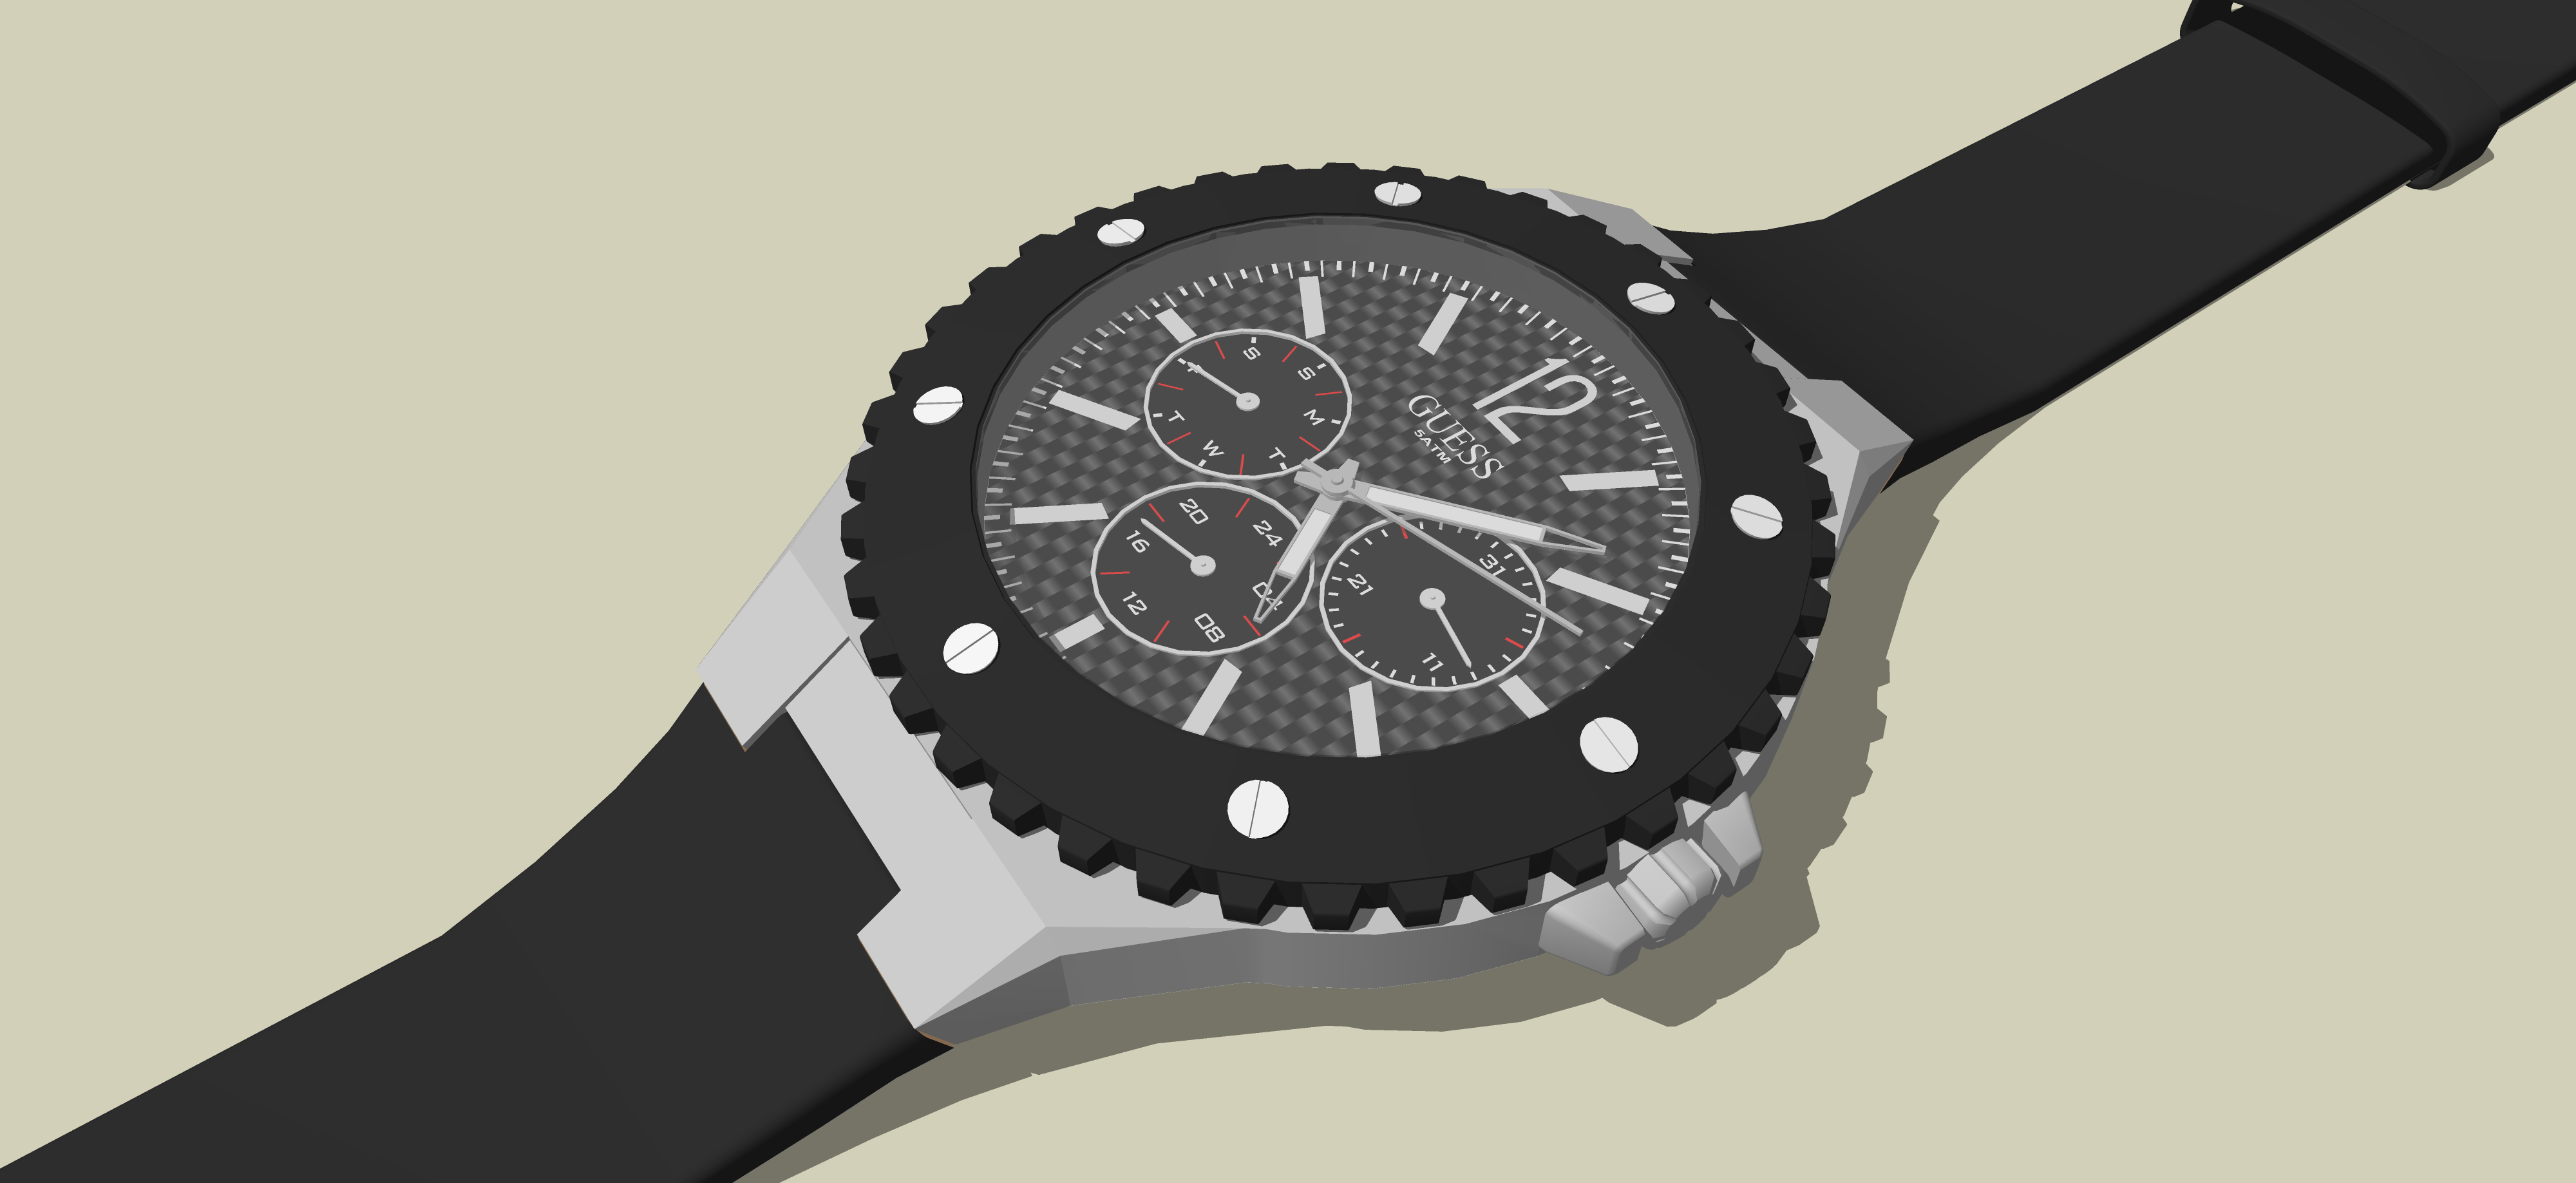
Watch: I modelled everything in this separately, from the text and numbers, to the little hands. A technic I used was to scale the model up 10 times, and model everything in, and then decrease the scale by a factor of 0.1 when I was done. That way I could make much more accurate parts and not be limited by the grid system.

Contact: Andrew Alexander
- Cover Story
-
 SketchUp Can Help You Win Interior..
 -
 Best Laptops for SketchUp
 -
 How to Resize Textures and Materials..
 -
 Discovering SketchUp 2020
 -
 Line Rendering with SketchUp and VRay
 -
 Pushing The Boundary with architectural
 -
 Trimble Visiting Professionals Program
 -
 Diagonal Tile Planning in SketchUp
 -
 Highlights of some amazing 3D Printed
 -
 Review of a new SketchUp Guide
- Sketchup Resources
-
 SKP for iphone/ipad
 -
 SKP for terrain modeling
 -
 Pool Water In Vray Sketchup
 -
 Rendering Optimization In Vray Sketchup
 -
 Background Modification In sketchup
 -
 Grass Making with sketchup fur plugin
 -
 Landscape designing in Sketchup
 -
 Apply styles with sketchup
 -
 Bedroom Making with sketchup
 -
 Review of Rendering Software
 -
 Enhancing rendering for 3d modeling
 -
 The combination of sketchup
 -
 Exterior Night Scene rendering with vray


