
Sketchup Resources
- SKP for iphone/ipad
- SKP for terrain modeling
- Pool Water In Vray Sketchup
- Rendering Optimization In Vray Sketchup
- Background Modification In sketchup
- Grass Making with sketchup fur plugin
- Landscape designing in
Sketchup - Apply styles with sketchup
- Bedroom Making with sketchup
- Review of Rendering Software
- Enhancing rendering for 3d modeling
- The combination of sketchup &
BIM - Exterior Night Scene rendering with vray

Author :
TIPS AND TRICKS
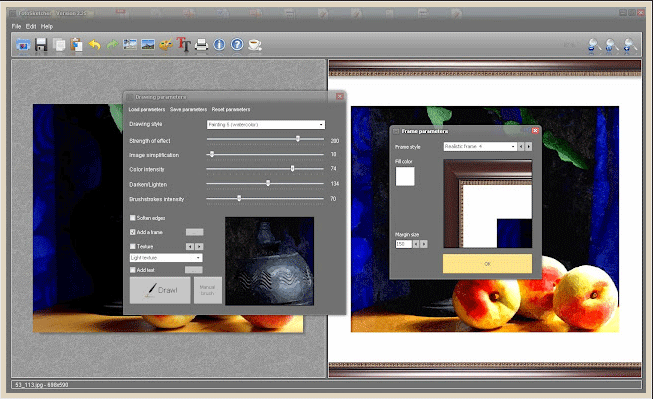
Today I was playing with the new Foto-Sketcher 2.25 and I must say I always like it. I decided to play with the realistic frame that you can do using this software and use them as projected texture in SKetchUp. Here is how I did it.
Step1: Foto-Sketcher frames
First I open the Foto-Sketcher and loaded some of the photos I wanted to turn into digital art and then chosen "Add Frame". In the Frame Parameters, you can create your different types of frames. Once you are happy save your file. You can also do your photos in batch..
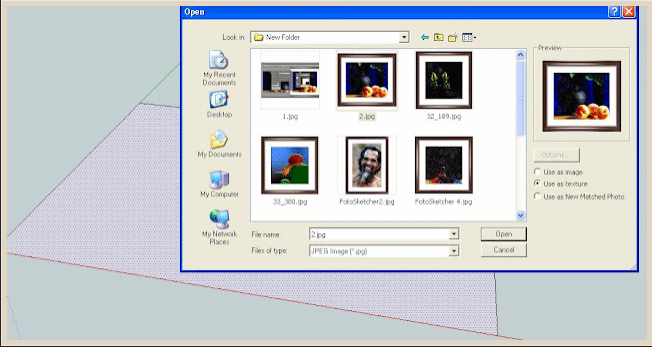
Step 2: Sketchup Workflow
Create a rectangular face in SketchUp. Now import the jpg texture and tick "use as texture".
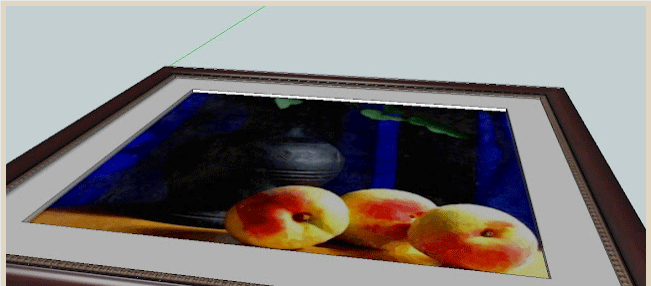
Drag the texture to the face. It will automatically apply as texture. Adjust the size of your face based on the proportion of your image.
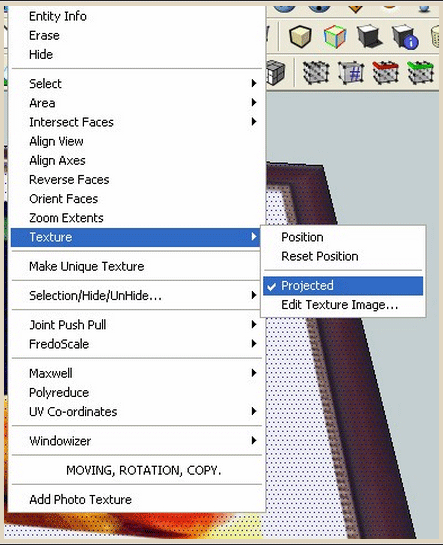
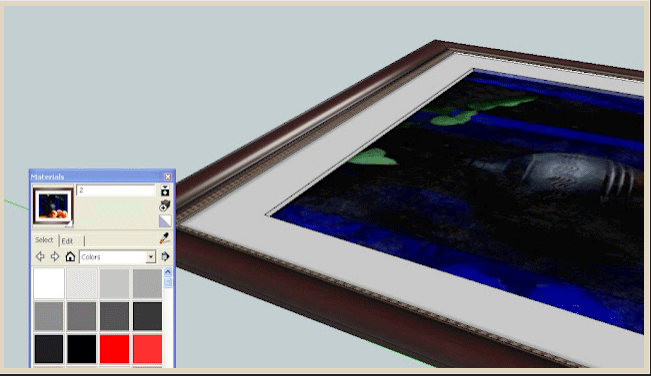
Next you need to right click on the face, select texture and tick "projected"
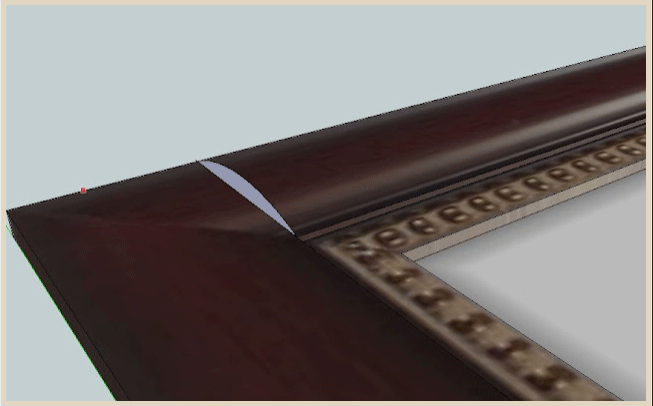
Next you need to use the offset tool and place the offset lines to the inside of the frame and pictures. Use push pull tool to give them depths. (See below image)
For the outside frame, you can add an arc closed face. (See below image)
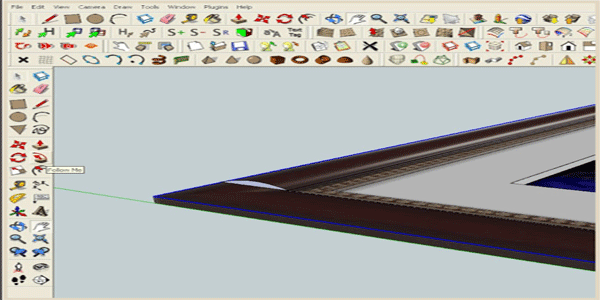
Select the outside lines and use "Follow me tool"
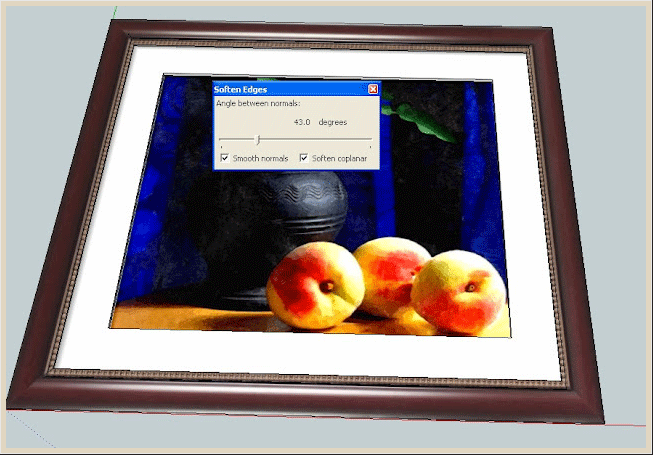
Here is the completed model

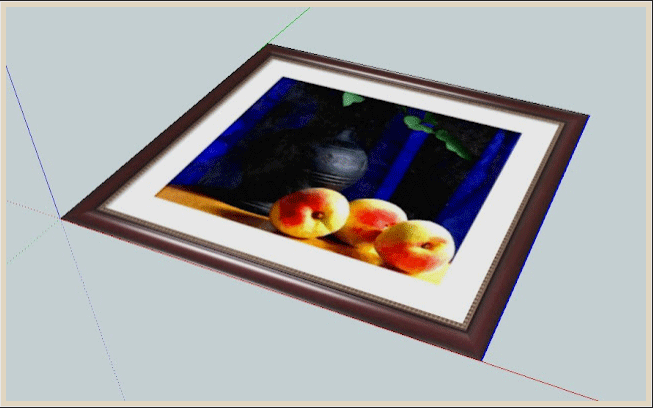
Now reapply the texture (click+alt) to apply to the whole model at once.
Here is the textured model.
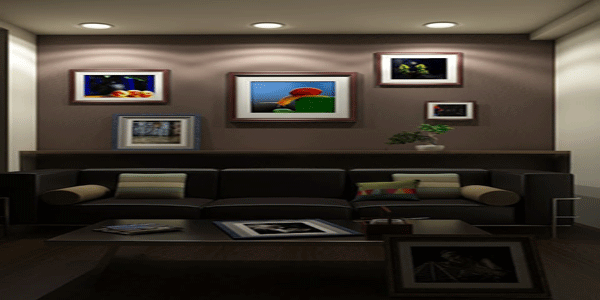
Do as many as you can and you can use them in your scene. The advantage of baked textures is its realistic and quick to render. The image was rendered less than 10 minutes.
Cross Posted from Nomer Adona's Blog